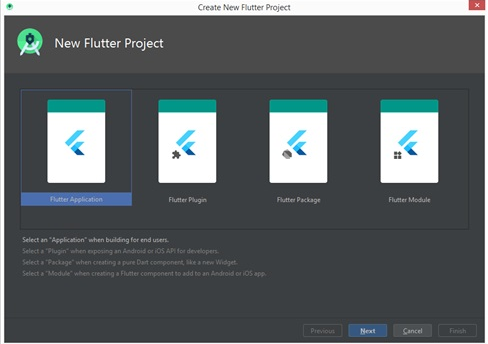
Introduction To Dart Programming Language
- Overview
- Environment
- Variables
- Operators
Finwaver.com
Your school or business runs better on finwaver.com. Sign up for free one (1) week try.
Android Studio Installation
Flutter SDK Installation
INSTALLATION
Before installing the flutter SDK, download android studio for the android SDK if you have not already installed android studio in week 1.
You can download android studio from this link. It is advisable to download the latest version of android studio to avoid future challenges during the flutter installations.
Visit https://developer.android.com/studio and download android studio and install.
INSTALLATION OF FLUTTER
Visit https://flutter.dev/docs/get-started/install and select your operating system
System requirements
To install and run Flutter on windows, your development environment must meet these minimum requirements:
If Git for Windows is already installed, make sure you can run git commands from the command prompt or PowerShell.
Get the Flutter SDK
If you wish to run Flutter commands in the regular Windows console, take these steps to add Flutter to the PATH environment variable:
flutter\bin using ; as a separator from existing values.Path with the full path to flutter\bin as its value.You have to close and reopen any existing console windows for these changes to take effect.
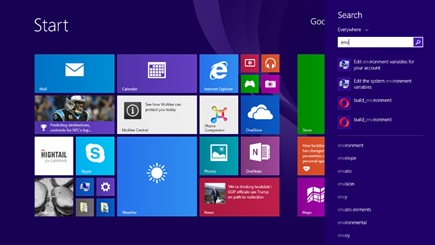
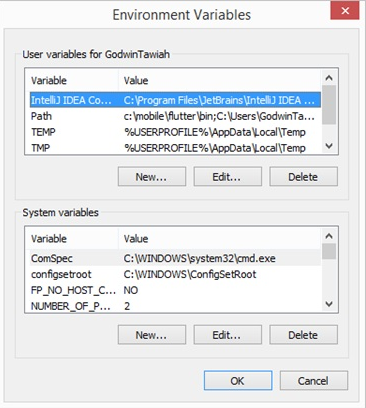
The flutter variable path exists in the above figure.
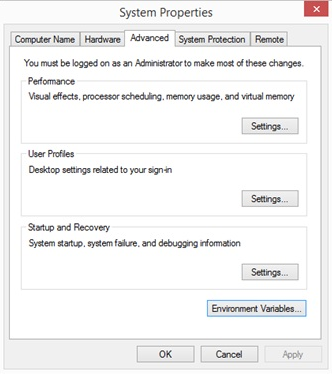
If the entry exists, append the full path to flutter\bin using ; as a separator from existing values.
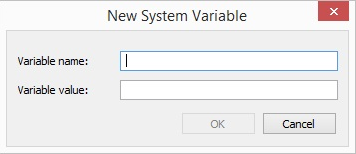
If the entry doesn’t exist, create a new user variable named Path with the full path to flutter\bin as its value.
You have to close and reopen any existing console windows for these changes to take effect.
Run flutter doctor
From a console window that has the Flutter directory in the path (see above), run the following command to see if there are any platform dependencies you need to complete the setup:
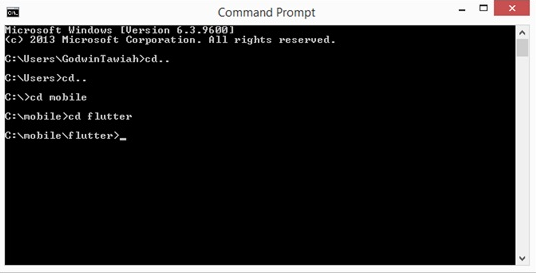
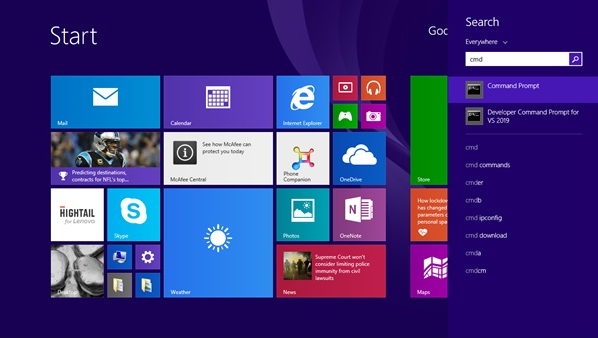
To use the windows command, type cmd in the search
Move to the directory where you’ve placed your flutter folder in the c drive. To exit a directory, type cd ..

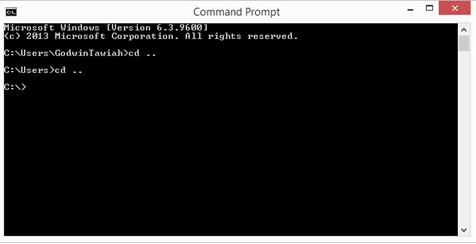
To move to a directory, enter the command cd
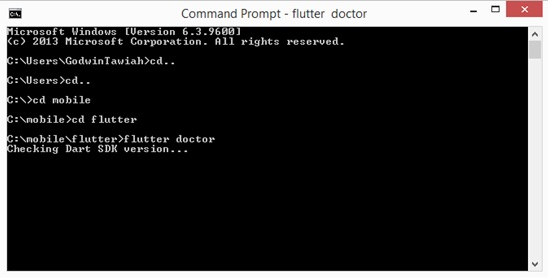
My flutter is located in c drive under sub directory mobile and so, I will move to that directory with the command below:
When in the flutter directory, you can now execute the flutter doctor command to check if everything is ok
This command checks your environment and displays a report of the status of your Flutter installation. Check the output carefully for other software you might need to install or further tasks to perform.
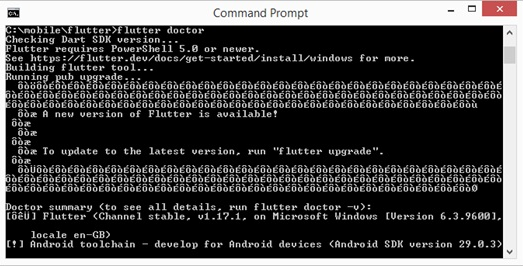
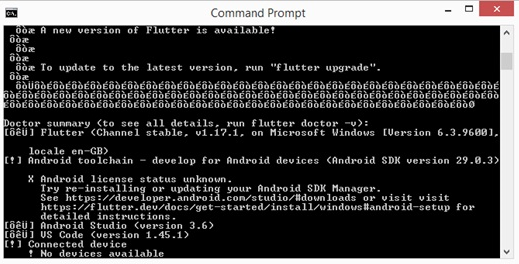
From the above figure, you could see I have to issues to resolve. The Android License status and connected device.
Android setup
As explained earlier, Flutter relies on a full installation of Android Studio to supply its Android platform dependencies. However, you can write your Flutter apps in a number of editors; a later step discusses that. In our Flutter course, I will be using android studio. If you prefer a different editor, please visit the flutter page where you downloaded flutter for instructions on how to set up flutter on those editors.
Set up your Android device
To prepare to run and test your Flutter app on an Android device, you need an Android device running Android 4.1 (API level 16) or higher.
Enable Developer options and USB debugging on your device.
Enabling Developer Options and USB debugging on your device
On Android 4.1 and lower, the Developer options screen is available by default. Click on the Developer options and enable USB debugging
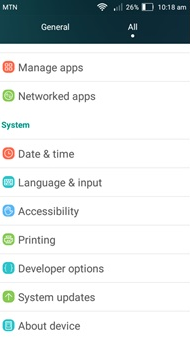
On Android 4.2 and higher, do the following:
Open the Settings app.
Select System.
Scroll to the bottom and select About phone.
Scroll to the bottom and tap Build number 7 times.
Return to the previous screen to find Developer options near the bottom.
Scroll down and enable USB debugging.
Using a USB cable, plug your phone into your computer.If prompted on your device, authorize your computer to access your device.
To verify if your phone can be used to debug, start the android studio and check if android studio recognizes your device.
As you can see in the above figure, flutter recognizes my phone and gives me the option to debug my application using that device.
If you’ve enabled developer option and still your device is not recognized even though the computer recognizes your device and gives you an option to use it as USB, then you may need to install the software that connects your phone to the computer. The software to install depends on your phone type.
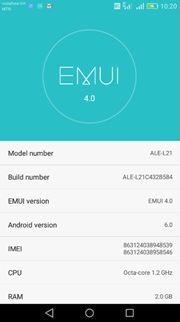
For my Huawei phone, I had to install Huawei HiSuite before my device was recognized for debugging.
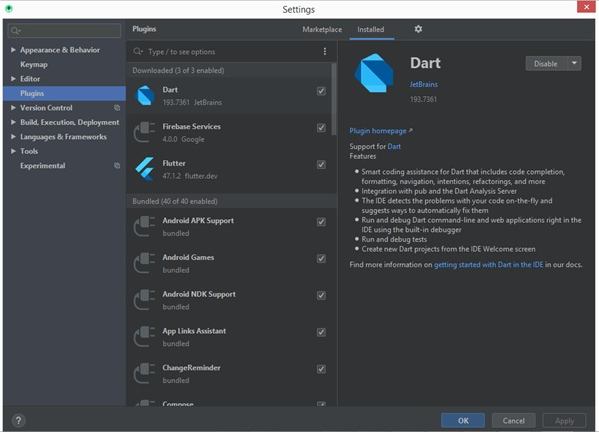
INSTALLING FLUTTER & DART PLUGINS FOR ANDROID STUDIO
Install Flutter and Dart plugin for Android Studio. It provides the startup template to create a new Flutter application, option to run and debug Flutter application in the Android studio itself.
In the terminal, run the flutter devices command to verify that Flutter recognizes your connected Android device.
By default, Flutter uses the version of the Android SDK where your adb tool is based. If you want Flutter to use a different installation of the Android SDK, you must set the ANDROID_HOME environment variable to that installation directory.
POSSIBLE ISSUES
1. ISSUES WITH ANDROID LICENSES
Run: flutter doctor –android-licenses
There will be list of licenses you’ve not accepted yet. Enter y for yes to accept those licenses
2. ANDROID SDK NOT FOUND
By default flutter uses the sdk path in the android studio. If for some reasons, flutter couldn’t find your android sdk, check the path of the sdk in android studio and configure flutter.
CHECKING PATH OF SDK IN ANDROID STUDIO
Click on Tools → Sdk Manager
CONFIGURING FLUTTER
Run: flutter config –android-sdkpath_of_sdk_comes_here
E.g if my sdk path is found at c:\Users\GodwinTawiah\AppData\Local\Android\Sdk
Flutter command: flutter config –android-sdk c:\Users\GodwinTawiah\AppData\Local\Android\Sdk
3. NO DEVICE CONNECTED
If you have followed the steps to set up your android device, this won’t be a problem. You can refer to setting up your android device to see what you were missing.
CREATE YOUR FIRST FLUTTER APP
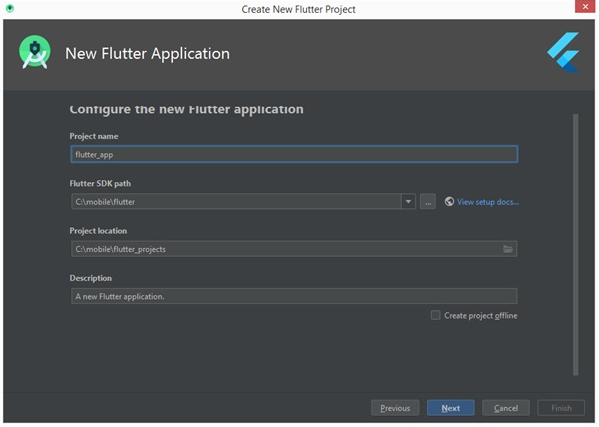
Project name: The name you are giving to your application
Flutter SDK path: The folder where you install your flutter. Type or click on the button to browse to that folder.
Project location: Where you want to save your project
Description: A brief description of the application
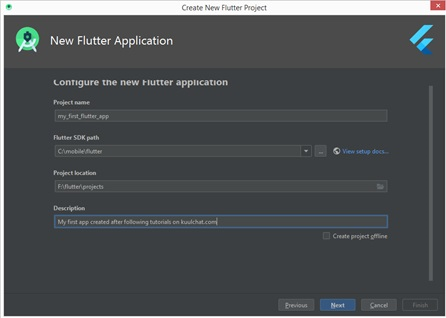
Figure: Sample example
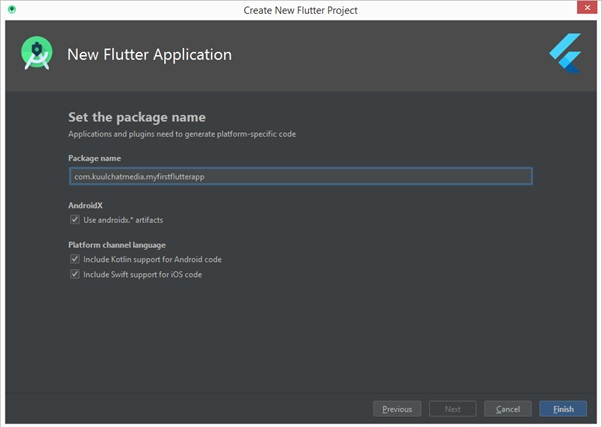
A package uniquely identifies your app on the app store. So you must choose a unique name after the com. I am using our company name kuulchatmedia since it is a unique name. You can choose a unique name that you prefer and click Finish
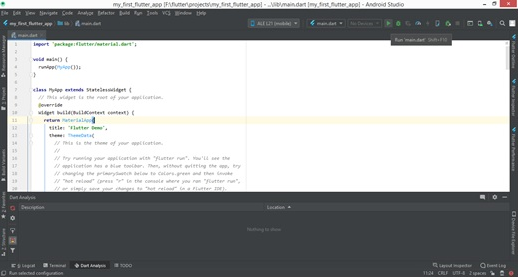
Figure: FirstFlutter App yet to be run
With your phone connected and android studio recognizing your phone, you can click on the green play icon to run your flutter project on your mobile device.
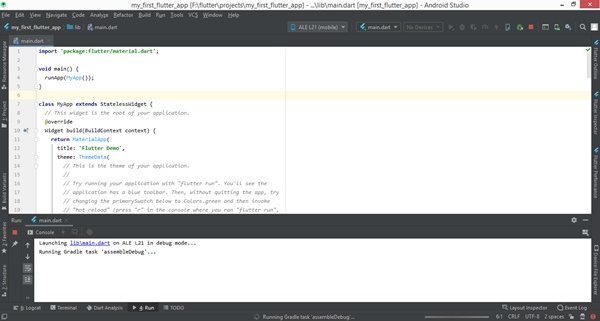
Figure:Flutter App being run
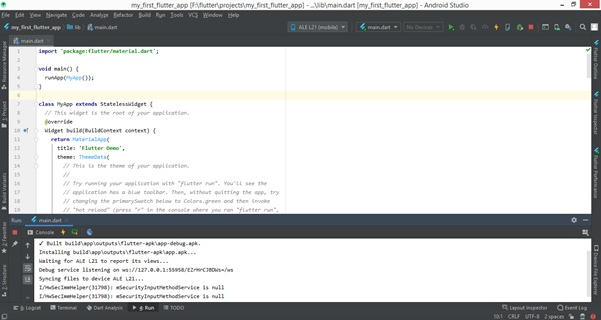
Figure: Console after installation on phone
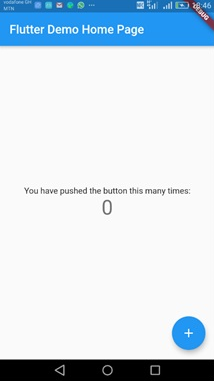
Figure: MyFirst Flutter App
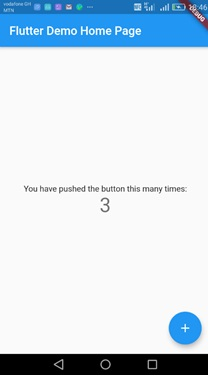
Figure: MyFirst Flutter App, floating button pressed 3 times
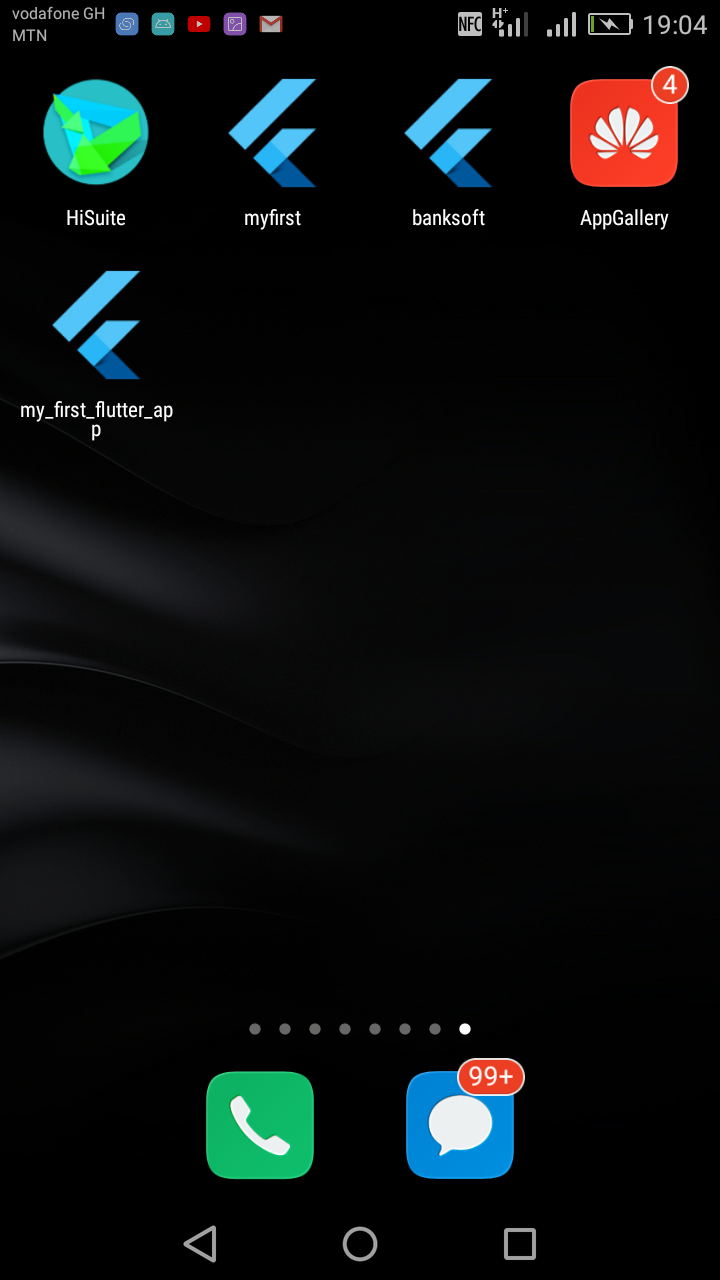
You can see your app installed on your phone by the name of your project and flutter icon.


Digital Address: GZ-033-0057
King Kotey Road
Teshie - Accra
Ghana
+233 59 993 7122
Finland
+358 44 986 0934
info@kuulchat.com
![]()
© Copyright 2015 - 2024
All Rights Reserved