Shapes
Shapes are used for designing flowcharts and graphics in word.
To insert shapes into your word document follow the steps below:
- Click on the insert tab
- Click on Shapes
- Click on the appropriate shape to insert
- Place the cursor at where you want to start to draw the shape
- While pressing the left side of the mouse, drag the mouse to the appropriate positions to add the shape

Figure: Inserting a shape
Formatting Shape
To format a shape, follow the steps below:
- Click on the borders of the shape to show the move handle
- Right-click on the move handle and choose Format Shape
- You can change the fill color or line property of your shape as required.
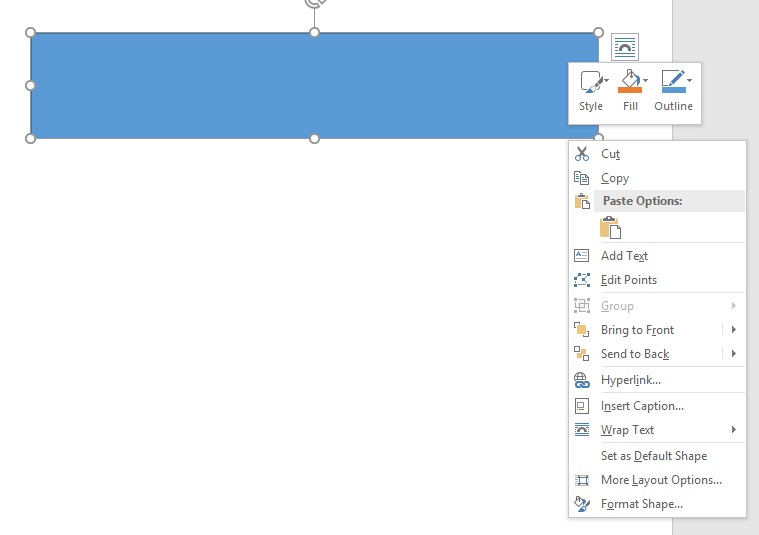
Figure: Formatting shape

Figure: Shape formatting options
The Text Shape
You can use the Text shape to add text / label / description to your shape
You can format the text fill color or line property or text property by following the above formatting steps.
Text Options in the Text Shape formatting
To change the Text Fill or Text Outline click on the A with the line below it. If you don't want borders around the Text, select No line in the Text Outline option
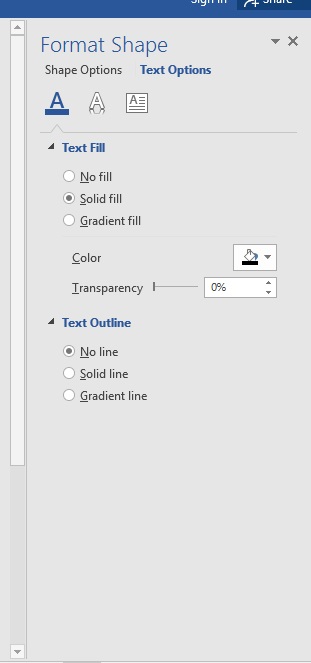
Figure: Text formatting
To add styles (shadow, reflection etc.) to the text click on the A with the shadow below it and select the appropriate style
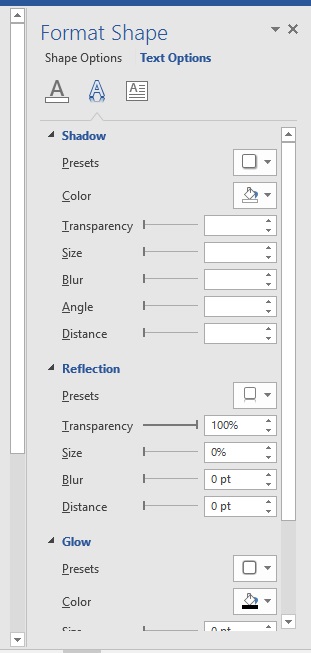
Figure: Text shadow formatting
To change the text margin or direction click on the A in the box and change to the appropriate margins or direction
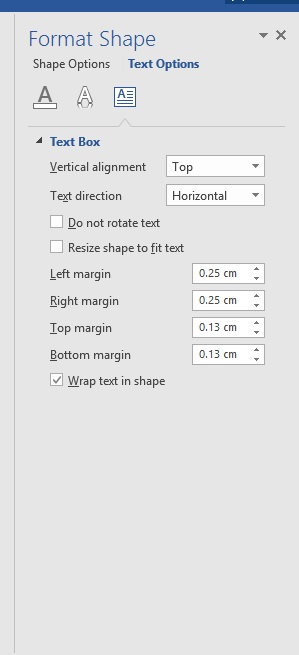
Figure: Text margins formatting
Grouping Shapes
To group shapes into one shape follow the steps below:
- Click on one of the shapes
- While holding the Ctrl key select the other shapes
- Right-click on one of the selected shapes and choose group → group
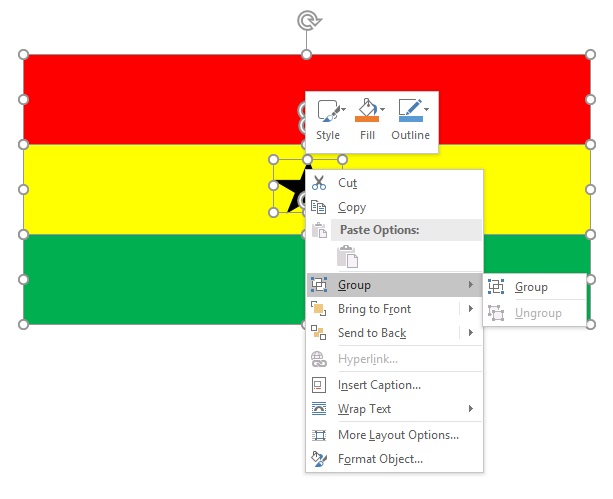
Figure: Grouping shapes
Ungrouping Shapes
To ungroup shapes simply right-click on the grouped shape and select group →Ungroup
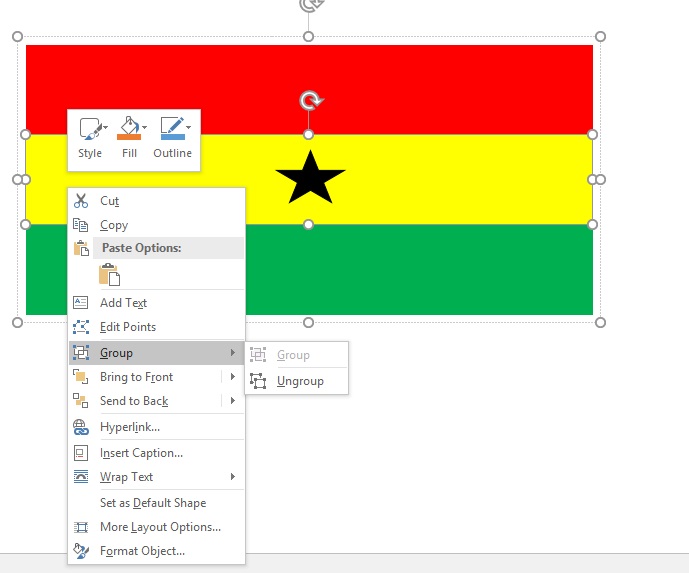
Figure: Ungrouping shapes
Table of contents
To generate a table of content follow the steps below:
- Highlight the headings and subheadings one at a time and click on their appropriate heading (Heading 1, Heading 2) in the styles on the home tab
- Place your cursor at where you want to add the table of contents
- Go to references → Table of content and choose an automatic style
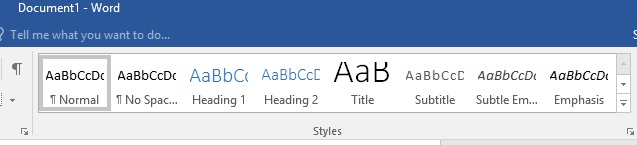
Figure: Table of content headings
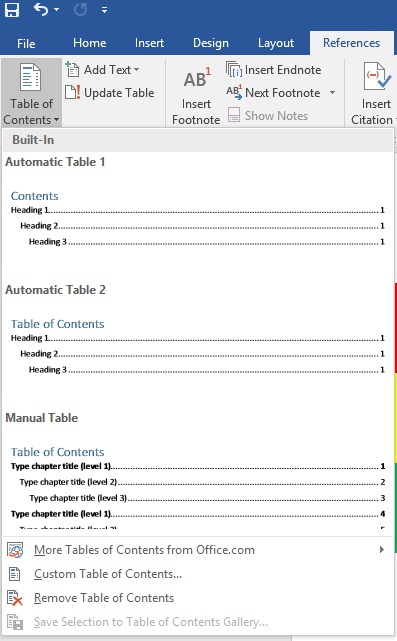
Figure: Inserting table of contents
Note
Once you clicked on the heading, the font type, size and color changes, you can update the font type , size and color as required
By default only Heading 1 and 2 are shown. You will only see Heading 3 when you use Heading 2 and Heading 4 when you use heading 3 and so on.
The table of content heading has its font type and color. You can update them as required.
Updating table of contents
To update the table of contents, simply click on any part of the table of content to show the Update Table button. Click on the Update Table button to update your table of content.
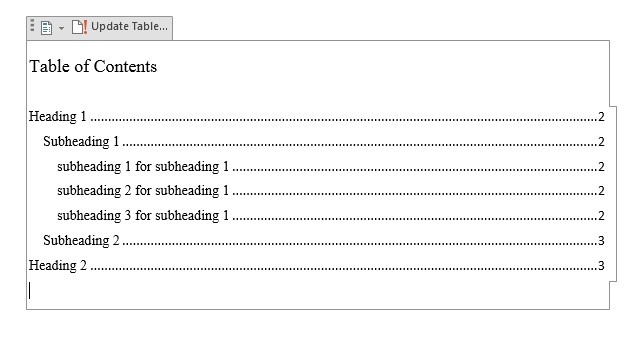
Figure: Updating table of contents
The automatic style as explained above has advantage over the manual table of content because the headings and the page numbers will automatically be updated once there is a change and you click on the Update Table button.
For manual, you have to check the locations of the headings and their page numbers to update the table of content yourself.
Preview document
To preview a document click on the File menu at the top and select print. The preview of the page is shown. In older version of word you will see the Preview option in the File menu.
Print document
To print a document click on the File menu at the top and select print. Select the appropriate print to print your document and click on the print icon.
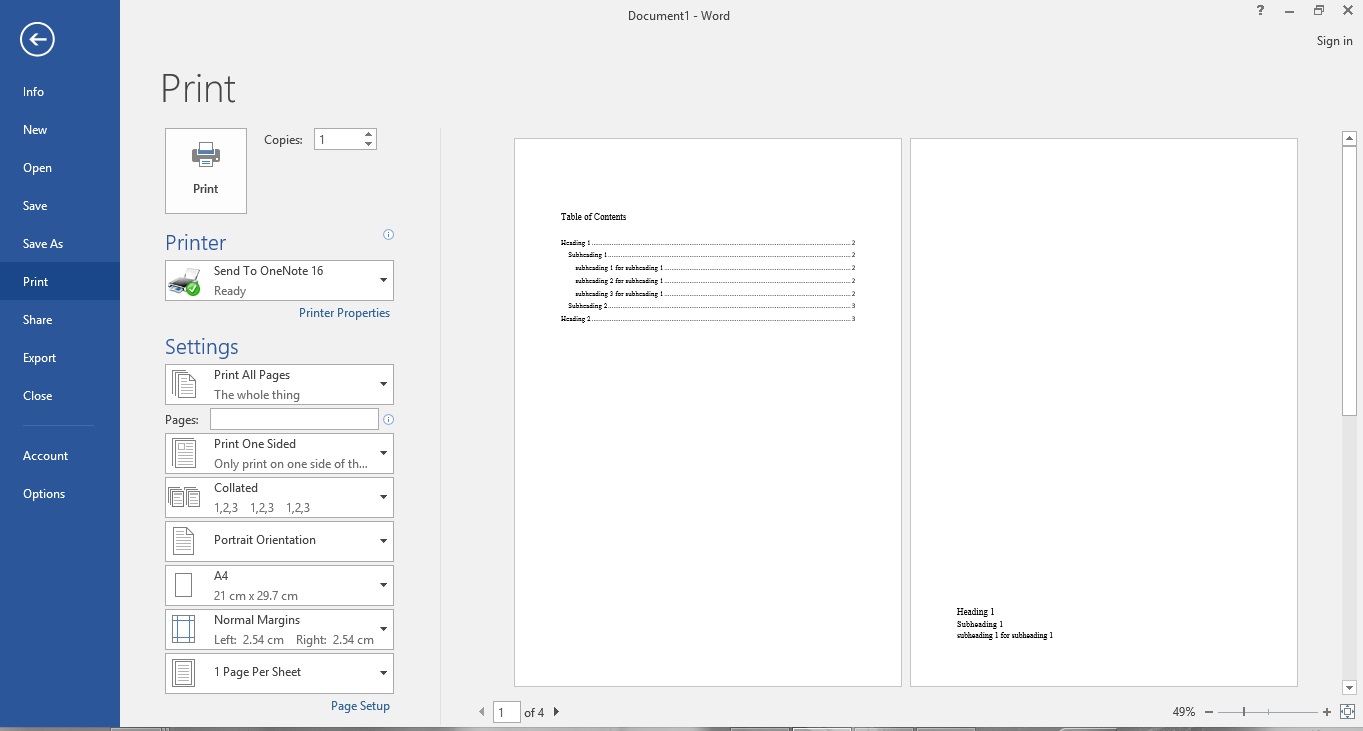
Figure: Preview or print document
Saving document as PDF
To save your word document as PDF follow the steps below:
- Click on the File menu and select Save As
- Click on Browse to select the folder to save your file to or select any of the suggested folders
- Give a name to the document in the File name: field and in the Save as type: select PDF
Use Template
Microsoft has a number of templates you can use for your new document. To use a template follow the steps below:
- Click on File menu → New
- Select from the list of available templates

Figure: Templates
Note
Some of the templates are only available online so you should be connected to the internet in case you may have to download the template from the internet.
You can save a document as a template to be added in the template lists.
To save a document as a template follow the steps below:
- Click on the File menu → Save As
- Browse to the location you want to save the template or select the suggested location
- Type the name you want to give to the template in the File name: field
- In the Save as type: field select Word Template
- Click on Save
The template would be save with a dotx extension. You will see the lists of your saved templates in the Personal tab when you are creating a new document.
Searching for templates online
You can as well search for a template online while creating a new document.
You either enter a keyword to search in the search bar or select any of the categories.
You have to be connected to the internet to do that.
Browse from the list of templates and choose your desired template.
Setting watermark
To add watermark to your document, follow the steps below:
- Click on the Design tab
- Click on Watermark (In Word 2010 or 2007, select Page Layout → Watermark.)
- Select your desired watermark or click on Custom Watermark to customize your watermark (add your own text and image as watermark)

Figure: Setting a watermark
Custom Watermark
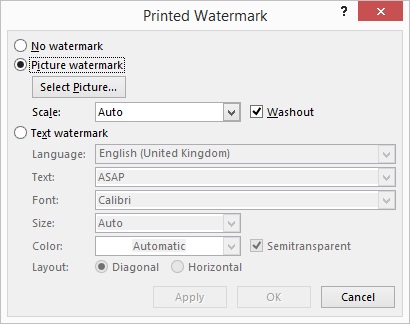
Figure: Custom Watermark dialog box
Picture Watermark
- Follow the above steps and click on Custom Watermark
- Select Picture watermark in the dialog that appears
- Click on Select Picture... to browse to where the picture is located to add as a watermark
Text Watermark
- Follow the above steps and click on Custom Watermark
- Select Text
- Enter your watermark text in the Text field
- Select the font type, size and color
Insert a watermark on just one page
This is only possible for text watermark. To insert a text watermark on just one page follow the steps below:
- Select where you want the watermark to be on the page.
- Select Design → Watermark → right-click the watermark you want, and select Insert at Current Document Position. The watermark appears as a text box.
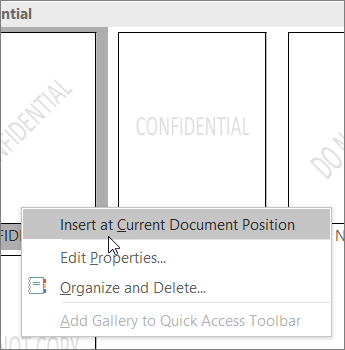
Figure: Inserting text watermark on only one page
Removing watermark
To remove a watermark follow the steps below:
Method 1
- Click on the Design tab
- Click on Watermark (In Word 2010 or 2007, select Page Layout > Watermark.)
- Click on Remove Watermark
Method 2
- Click on the Header or insert a header
- Put your cursor over the watermark until you see a 4-way arrow.
- Select the watermark.
- Press the Delete key on your keyboard.
- Repeat as necessary to remove all watermarks.
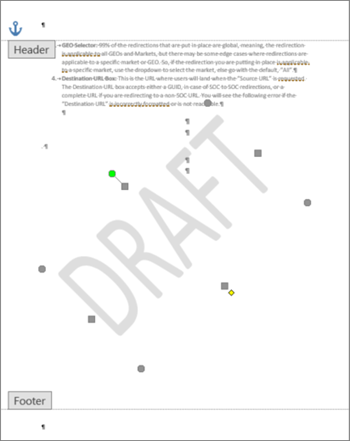
Figure: Remove watermark
If you have a cover page and you don't want the watermark there follow the following steps:
- Double click on the header or insert header if there is no header
- Tick Different First Page in the Design tab
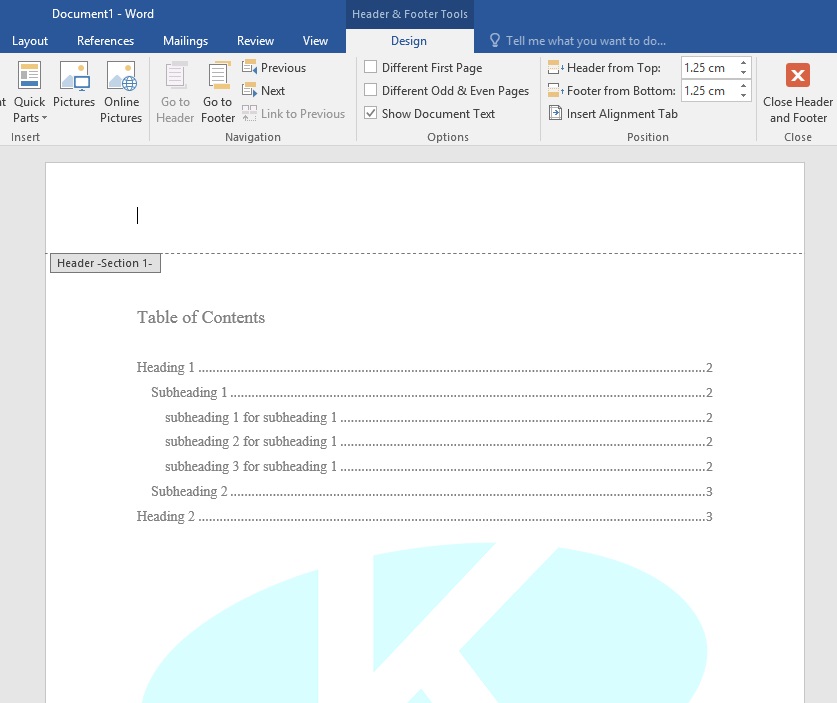
Figure: Different First Page
Delete a watermark on a particular page
The watermark is part of the header except it is positioned in the middle. To have a header or delete a watermark for only a particular page, you must create section of the page.
To create section follow the steps below:
- Place the cursor on the first line of the next page of the page you want to create the section break
- Click on the Layout tab
- Select Break → Continuous
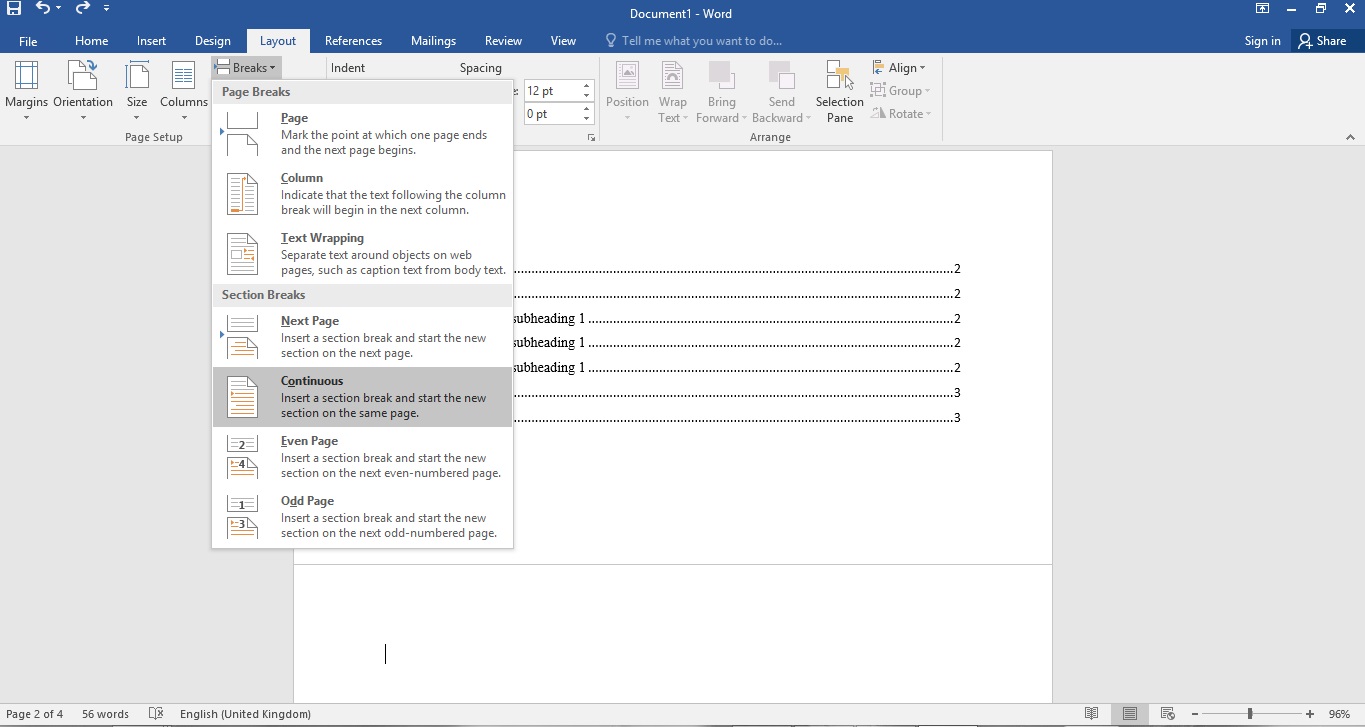
Figure: Creating sections of page
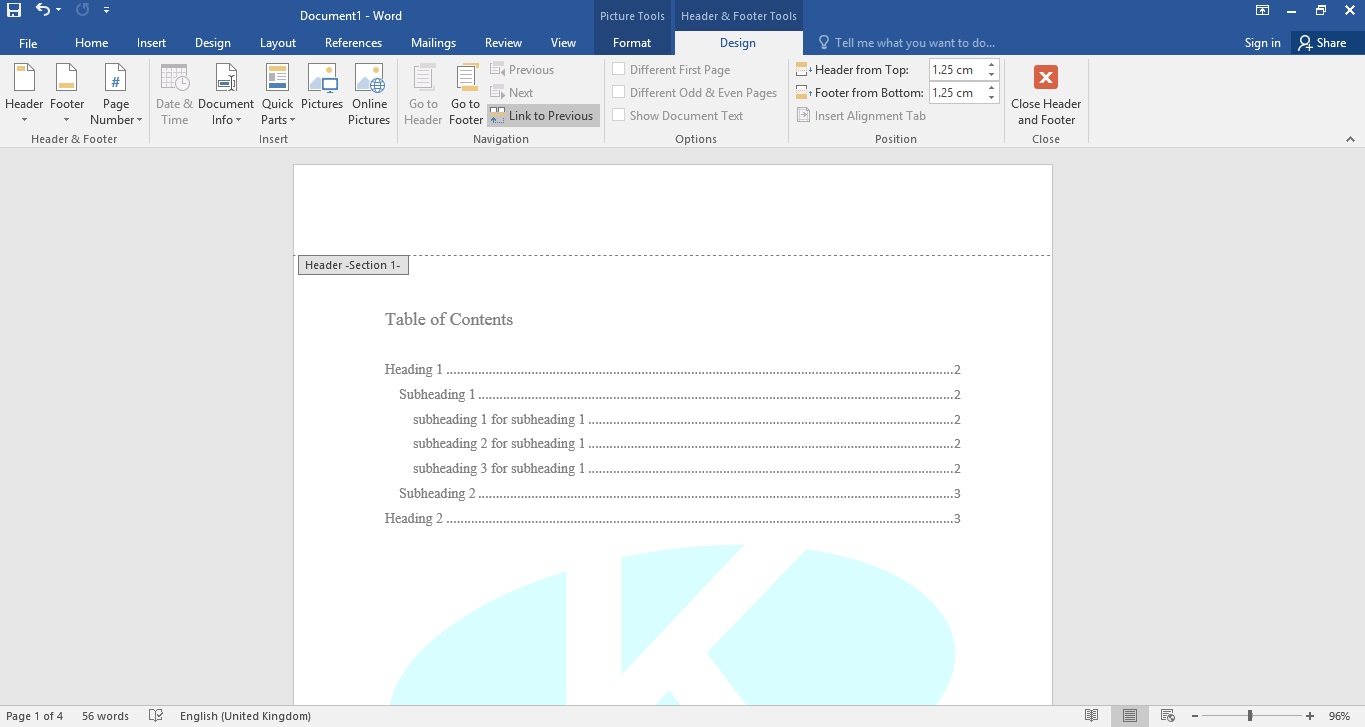
Deleting the watermark of a particular page
Once you've created the section break, follow the steps below:
- Double click on the header or insert header if you don't have header in your document
- Select the watermark by clicking on the watermark on that page
- Click on Link to Previous to deselect it if it has been selected (This turns off the link between the sections)
- Delete the watermark by pressing the delete key
The same applies to having a unique header for only a particular page(s). You will have to create sections for the pages and change the header information for that section.
Protecting word document
Passwords are case-sensitive and can be a maximum of 15 characters long.
If you lose or forget your password, Word won't be able to recover it for you. Be sure to keep the a copy of the password in a safe place or create a strong password that you’ll remember
To password protect your document, follow the steps below:
- Go to File → Info → Protect Document → Encrypt with Password.
- Type a password, then type it again to confirm it.
- Save the file to make sure the password takes effect.
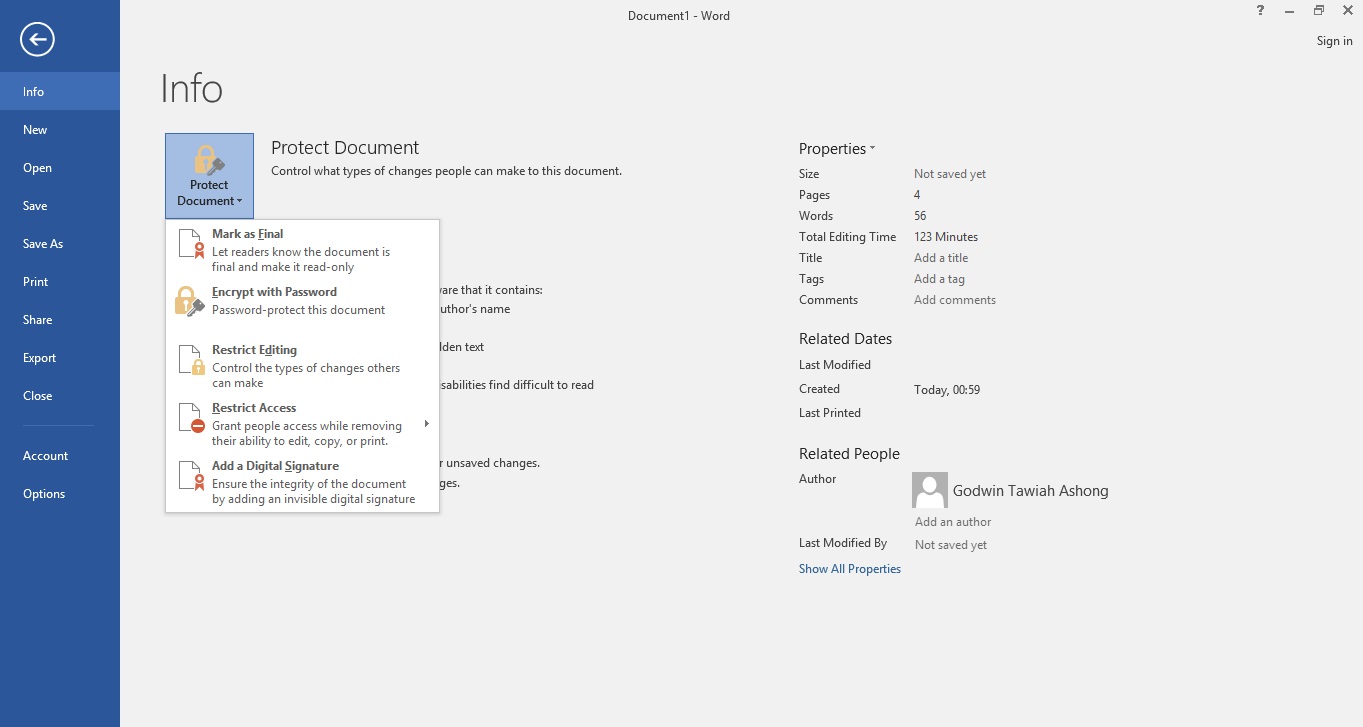
Figure: Product word document
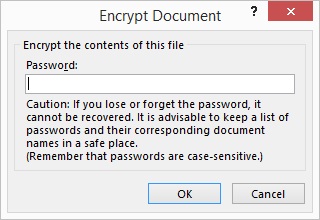
Figure: Enter password
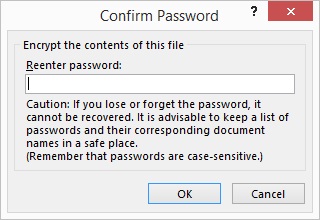
Figure: Confirm password
Comparing two documents
To compare two documents to see where modifications has been made, follow the steps below:
- Click on the Review tab and click Compare
- Select the original document or browse to where the original document is
- Select the revised document or browse to where the revised document is
- Click Ok
- To show both documents when comparing, repeat steps 1 and select Show Source documents → Show Both
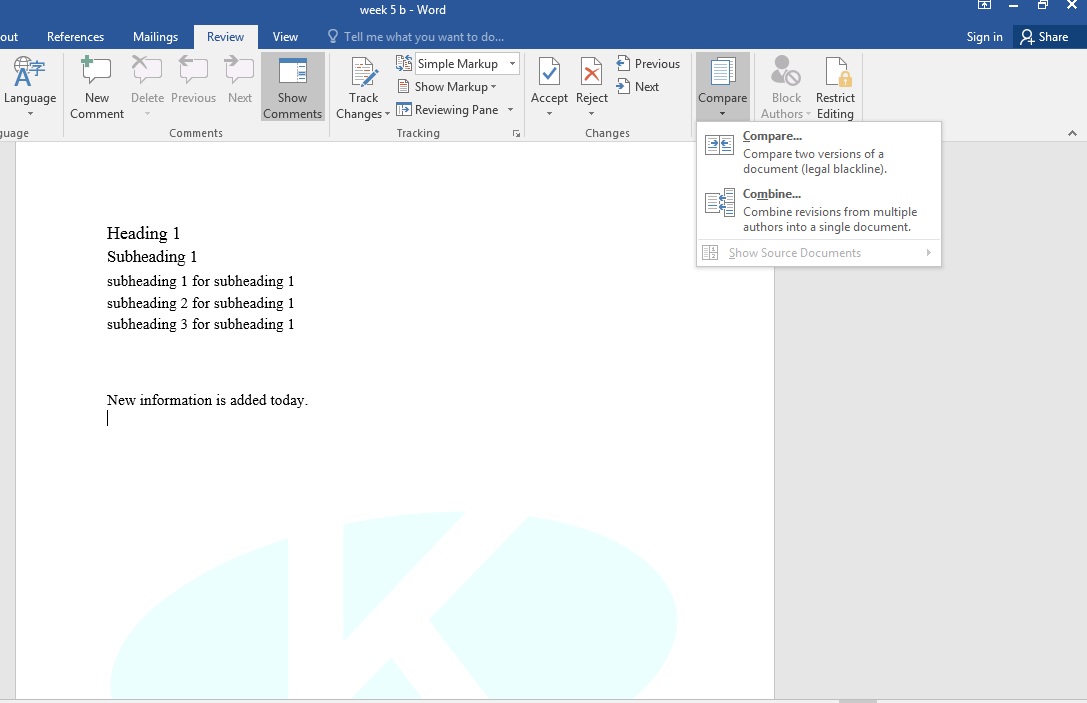
Figure: Compare documents
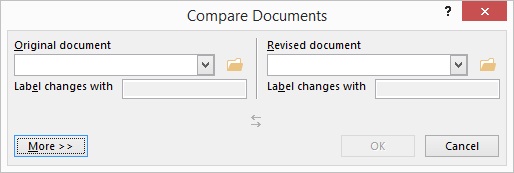
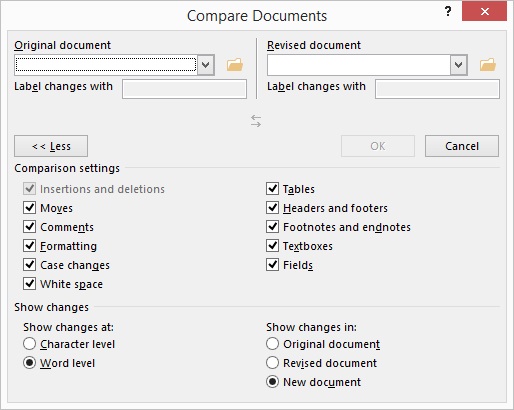
Figure: Compare dialog box
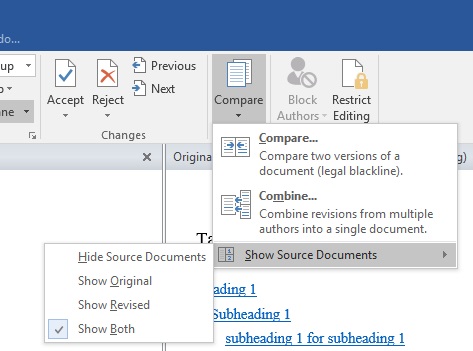
Figure: Show both documents after selecting original and revised document
You can walk through these changes using the Previous & Next button available under the Review tab
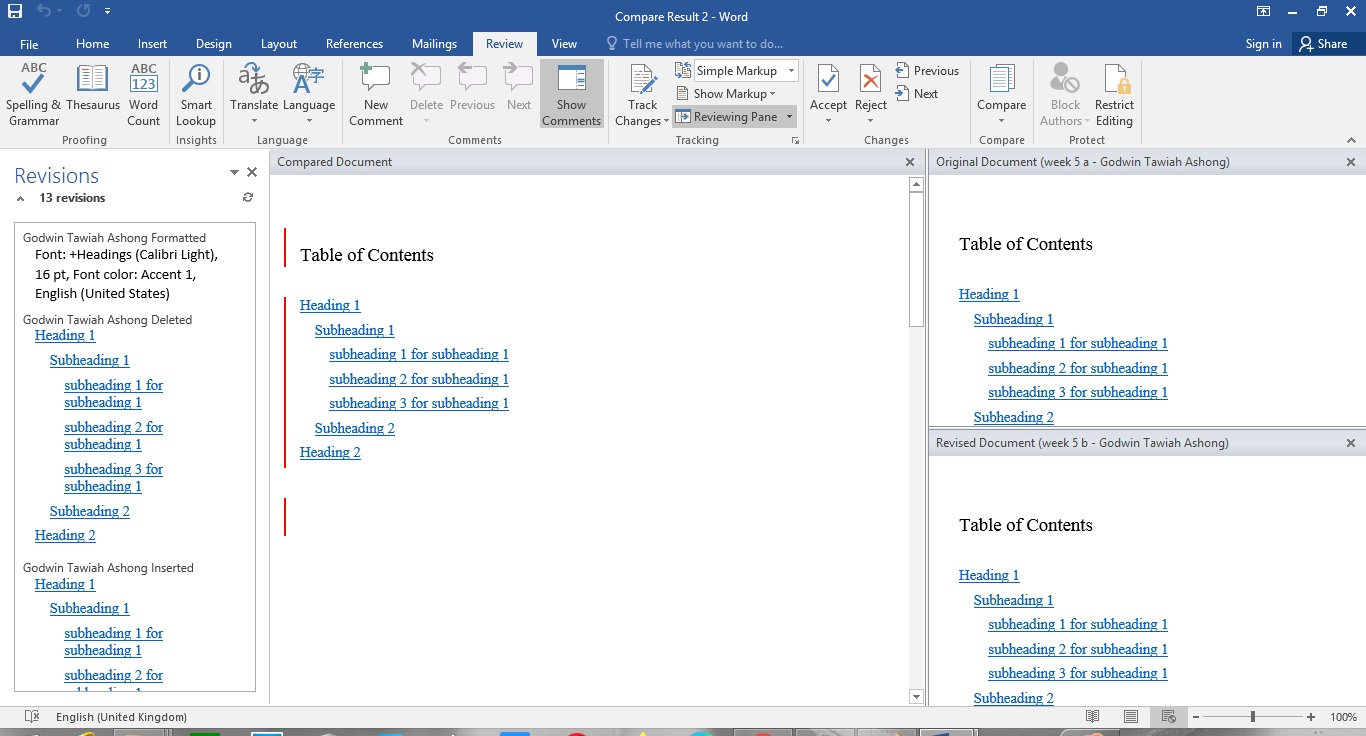
Figure: Comparing two documents
Note
While comparing two documents you can use the different settings available at the Compare Documents dialog box under the More button.
Once you are done, you can close the document for the compare result.
Translating document
To translate your document to another language follow the following steps:
- Click on the Review tab
- Click on Translate
- Click on Choose Translation Language and select the language you want to translate your document to
- Repeat steps 1 - 2 and Select the appropriate translation option
- Confirm to the warning dialog by clicking Yes
- Wait as the translation is being processed
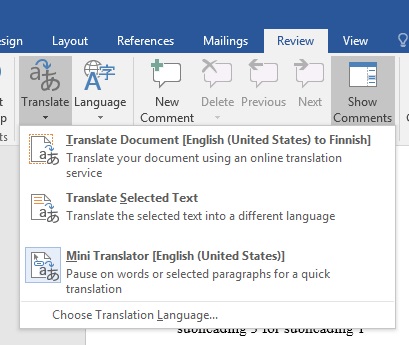
Figure: Translate options
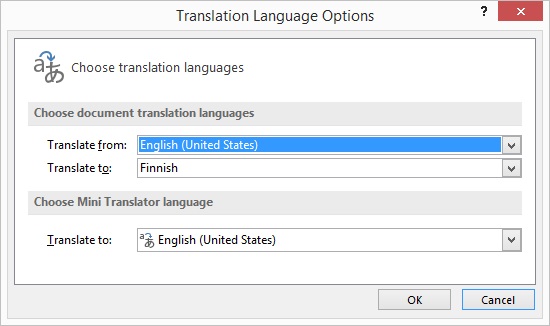
Figure: Choose Translation Language
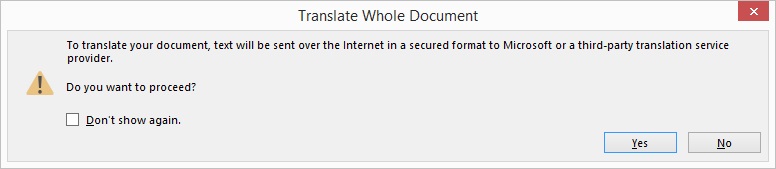
Figure: Agree to send text over the internet
A web page will be shown once the translation is complete (for translation of entire document).
For entire document translation, you can copy the translated text from the web browser into a new document and save it.
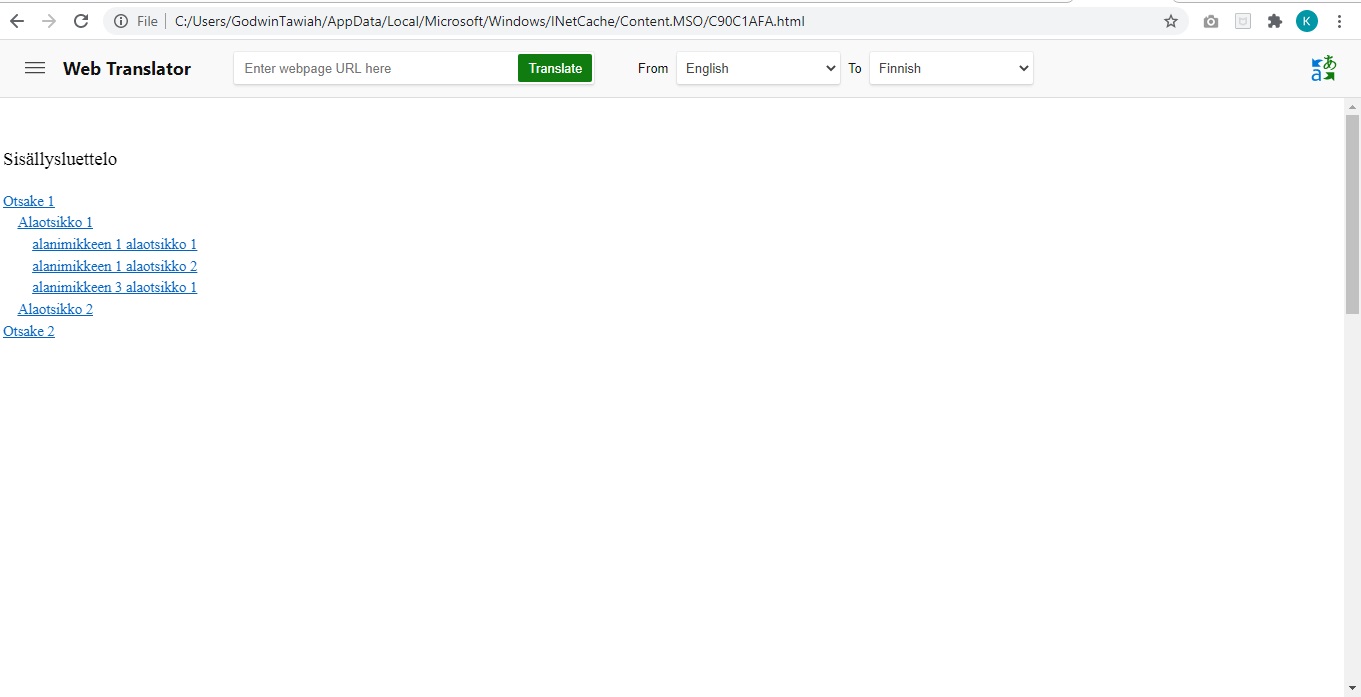
Figure: Translation result
For translation of selected text, the result will be displayed at the right side panel of the word document.
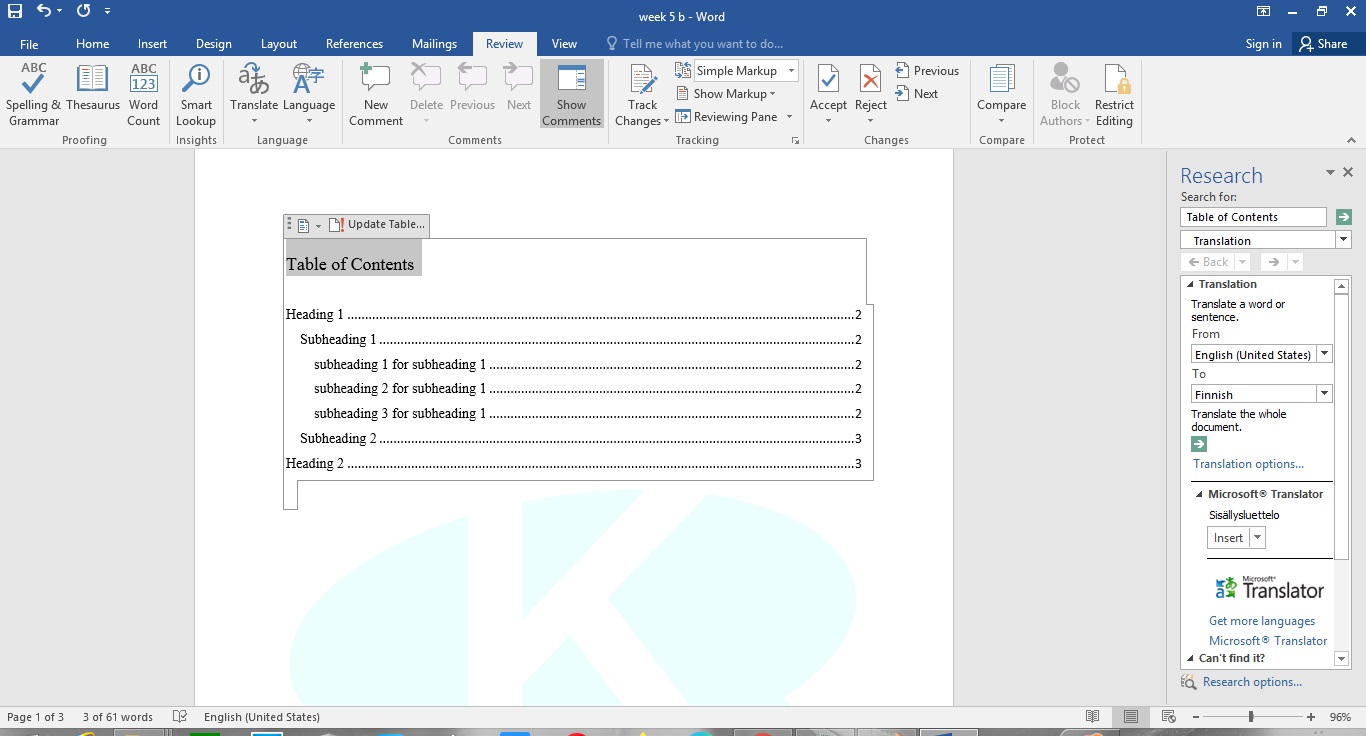
Figure: Translate selected text result display