THE COMPUTER
- Booting a computer
- Shutting down, restarting or putting a computer to sleep
- Input Devices
- Output Devices
- Storage Devices
- Desktop
Finwaver.com
Your school or business runs better on finwaver.com. Sign up for free one (1) week try.
Explanations to week content
THE INTERNET
Connecting to the internet
You can connect to the internet either via an internet cable or wireless.
Most newer desktop computers include a Wi-Fi card but the early desktop computers don't have a Wi-Fi card and so doesn't have a wireless connection feature and so connecting to the internet is solely by a cable or you will have to purchase a USB wireless adapter in order to be able to connect to wireless networks.
You can connect a USB wireless adapter to a desktop computer if wireless connection is the only option available for you (absence of a router or switch provided by an internet service provider -ISP or USB modem)
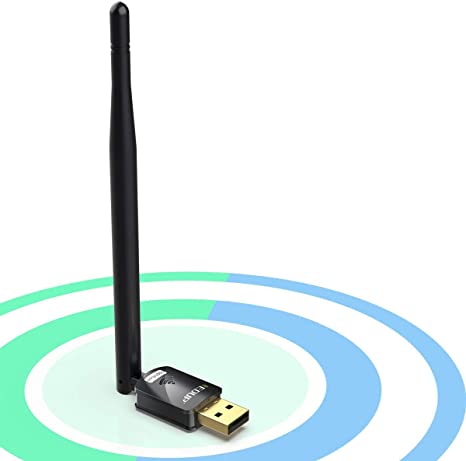
Figure: USB wireless network adapter
If your desktop computer doesn't have the Wi-Fi card, you will have to purchase a USB wireless network adapter similar to the above figure and insert into the USB port of the computer.
This will make it possible to see available wireless networks for you to connect to.
Connecting by USB Modem
USB modem enables you to use a phone line to connect to the internet.
Parts of the modem
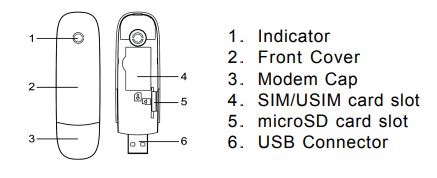
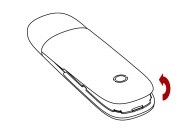
Step 1
Put finger on the bottom finger grip, and then lift the front cover of the modem to release and remove.
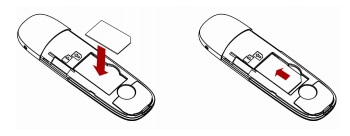
Step 2
Insert the SIM/USIM card into the SIM/USIM card slot. Insert the SIM/USIM card with the metal contact area facing downwards into the slot, and then push SIM/USIM card as far as possible, shown as the following picture.
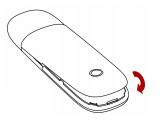
Step 3
Put the front cover of the modem flatly upon the body of modem. Direct the front cover towards the locking catches on the sides of the modem and push the front cover of the modem to lock the front cover into its place.
Step 4
Connect the Modem to your laptop or desktop PC.
Plug the USB connector into your computer’s USB port and make sure that it is tightly inserted.
The OS automatically detects and recognizes new hardware and starts the installation wizard.

Connecting by an internet cable
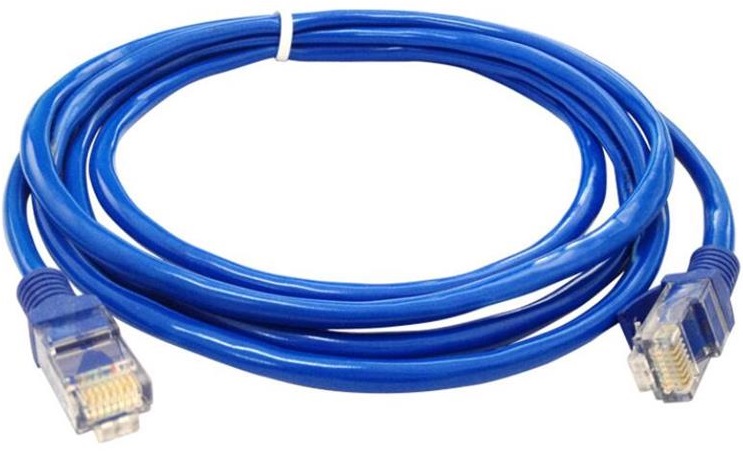
Figure: Internet cable
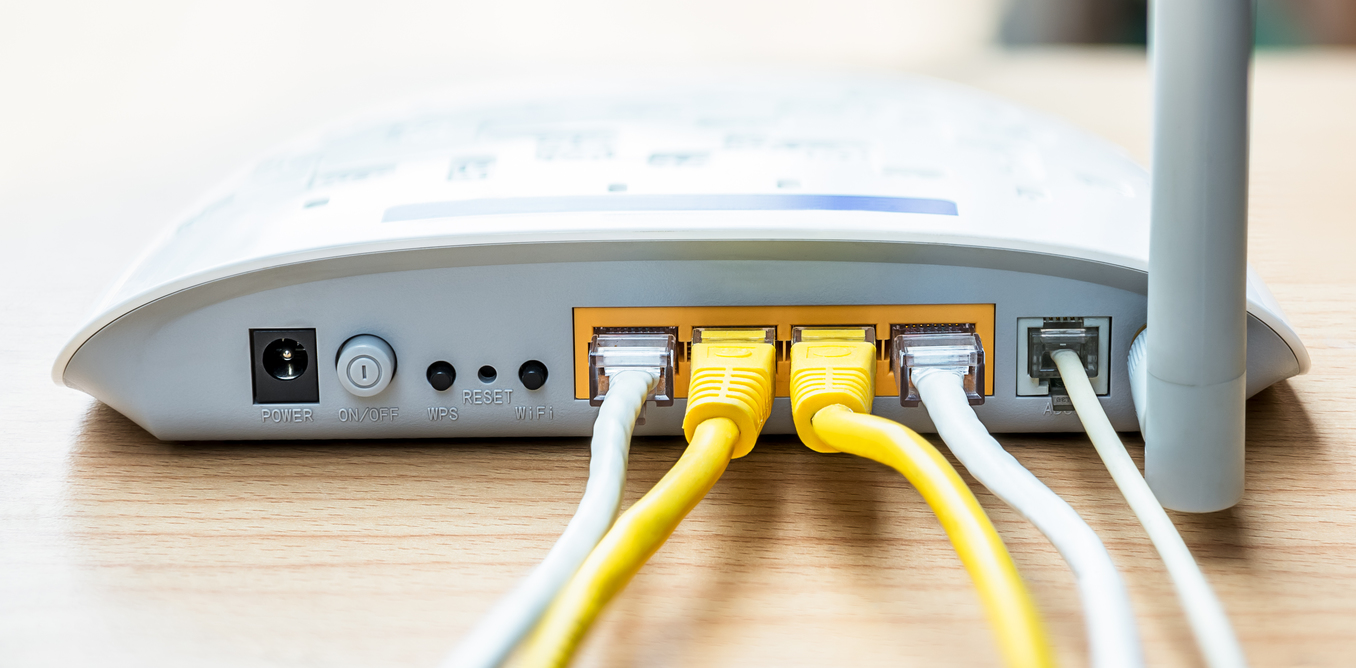
Figure: Network router
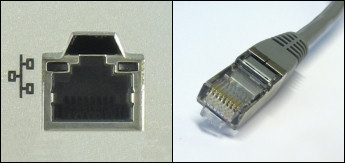
Figure: Internet port
If there is internet connection, the connection icon will show on the desktop taskbar. If the cable is connected but no internet, there will be an alert icon in the connection icon.
![]()
Figure: Internet connected when internet cable used
![]()
Figure: No internet connection
Connecting by wireless
Most laptops have wireless network adapters so you can connect to the internet via wireless.
The wireless source can be either by your router or hotspot on your phone.
To use your phone as a wireless source, you have to turn on your hotspot in order for the laptop to see that network. Your internet data must also be on to access the internet.
Turning on your hotspot on your phone
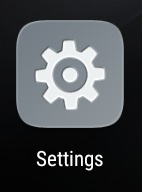
Figure: Settings icon
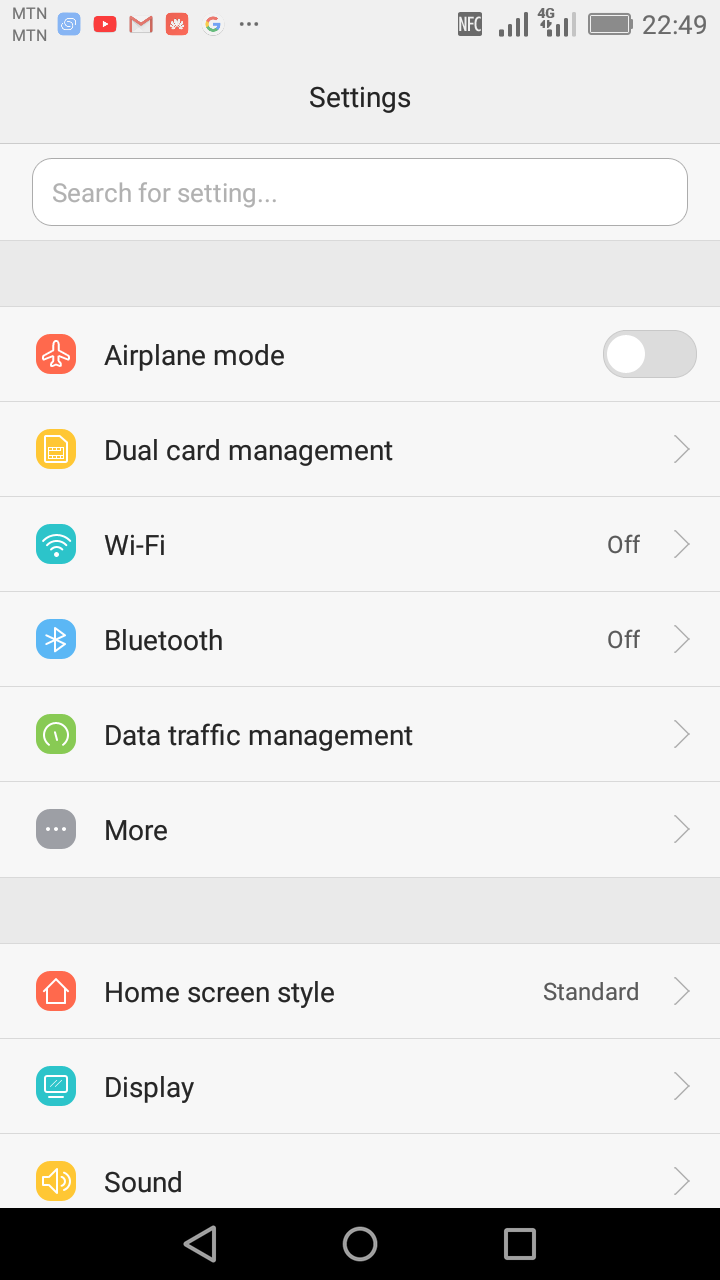
Figure: Hotspot step 2
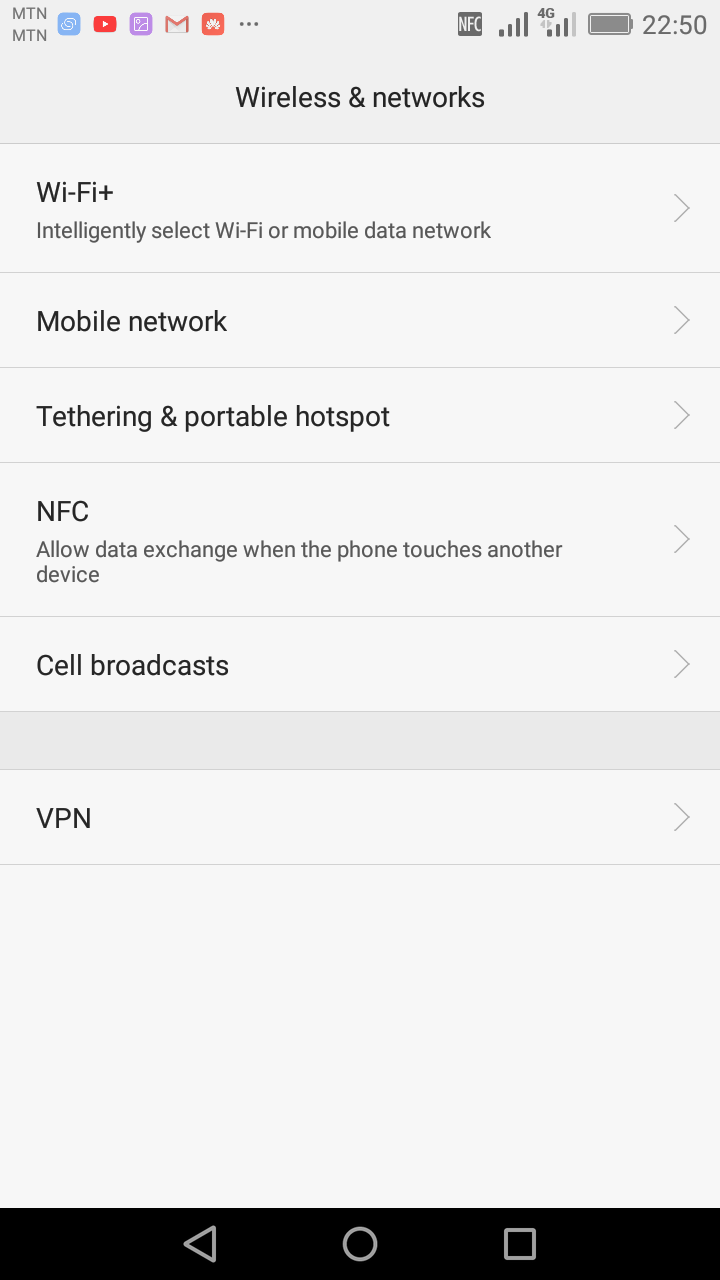
Figure: Hotspot step 3
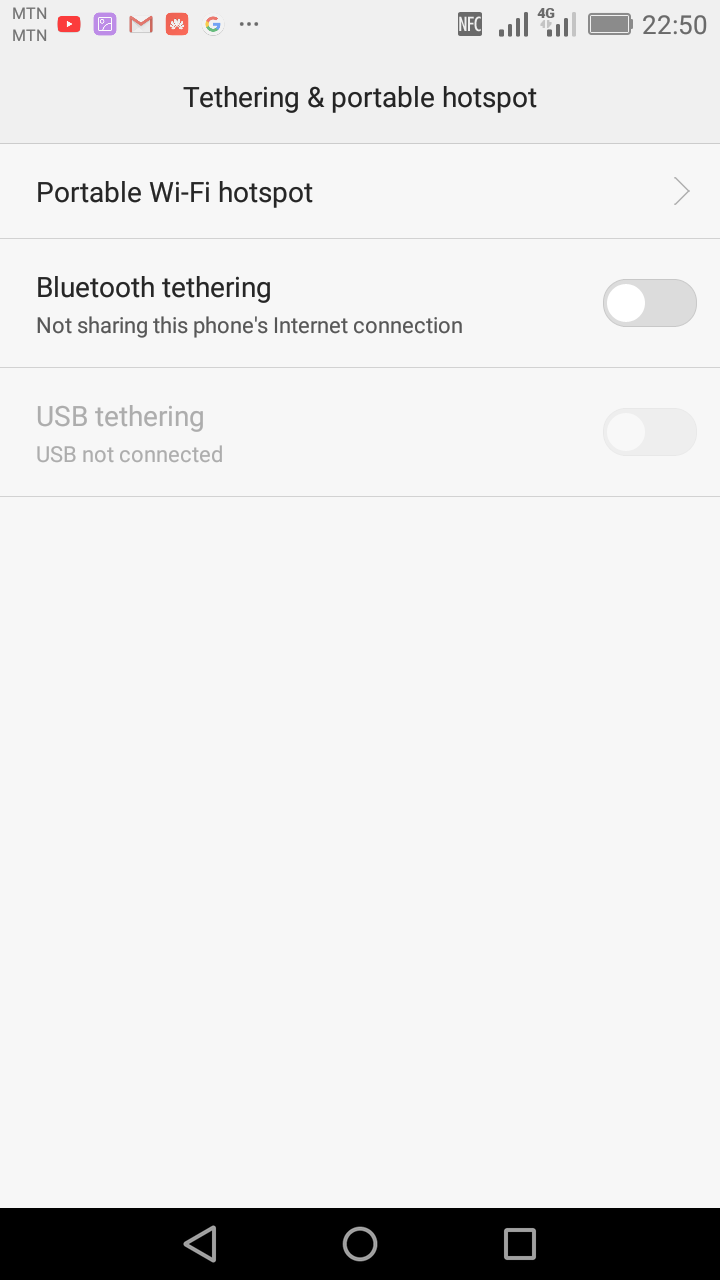
Figure: Hotspot step 4
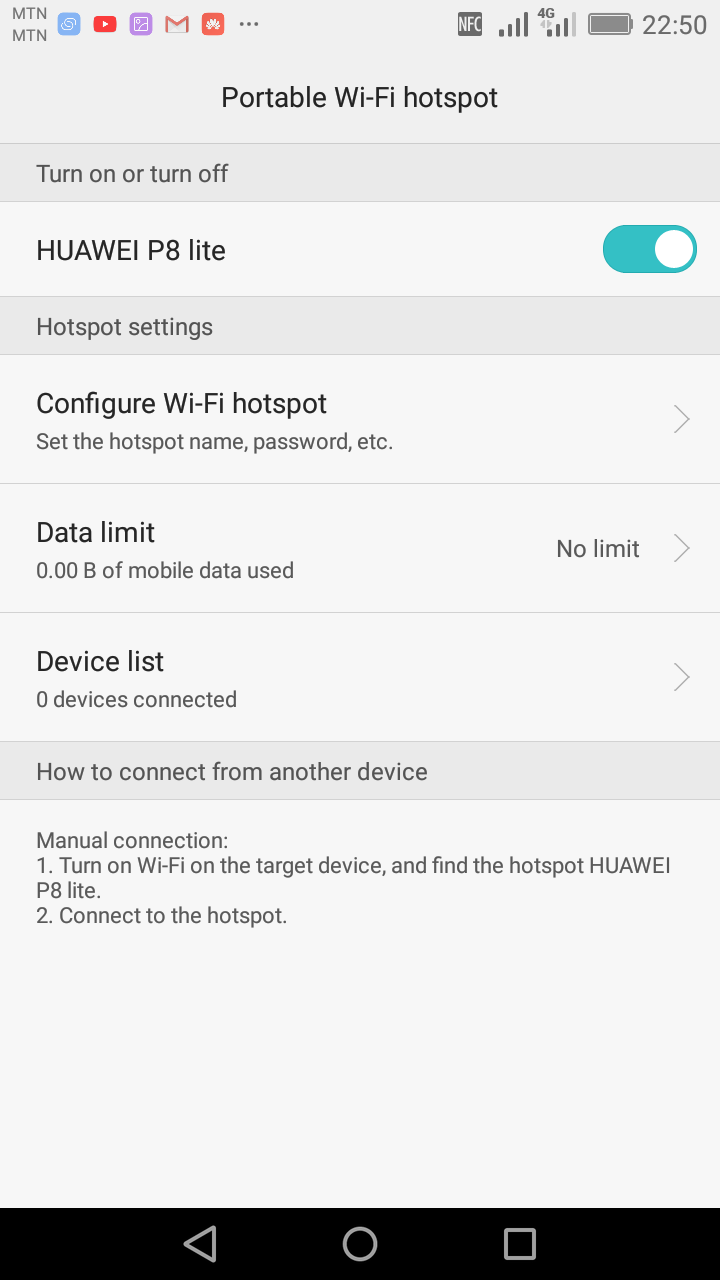
Figure: Hotspot step 5
If you wish to change the default name and password, you can click on the Configure Wi-Fi hotspot. Edit the Network SSID and enter your desired password. You can as well select the maximum connections allowed.

Figure: Configure hotspot
To connect to the wireless network follow the steps below:
Once connected, the wireless network connection icon changes.
![]()
Figure: No available wireless network
![]()
Figure: Wireless network available
When the wireless network icon is as the above icon, it means there are wireless network available so you can connect to. If the wireless network has the red cross, it means no wireless network available so nothing to connect to.
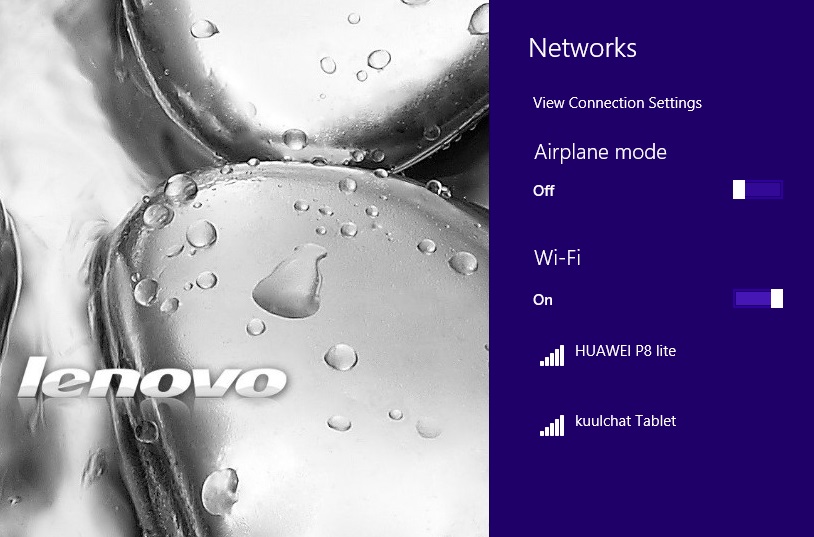
Figure: Available wireless network when the wireless network icon is clicked
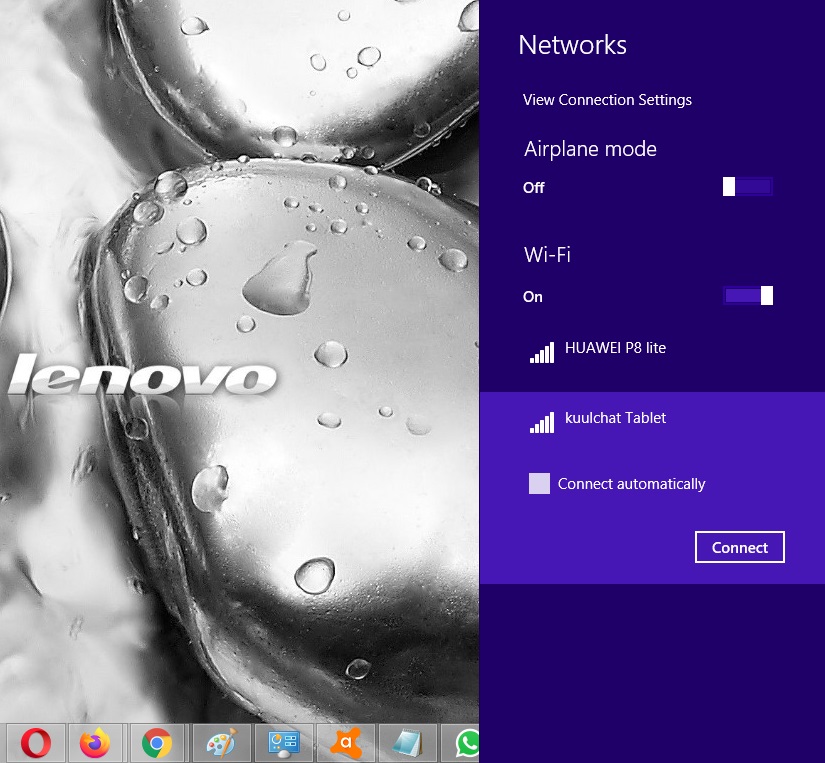
Figure: Connect to the wireless network
Forgetting a wireless network
To forget a wireless network simply means delete a wireless network profile.When you forget a wireless network, the computer device will remove that particular network from saved networks list and it will not remember the password and other network credentials that were previously saved. The next time you connect to a forgotten wireless network, you will be asked the password before being connected to. If you temporary share your hotspot/wireless network on a friend's computer, you can forget the wireless network once the device finishes using the network. Otherwise the next time your wireless network is on and the device is in the vicinity, the device can automatically connect to your wireless network without your knowledge.
To forget a wireless network, please follow the following steps:
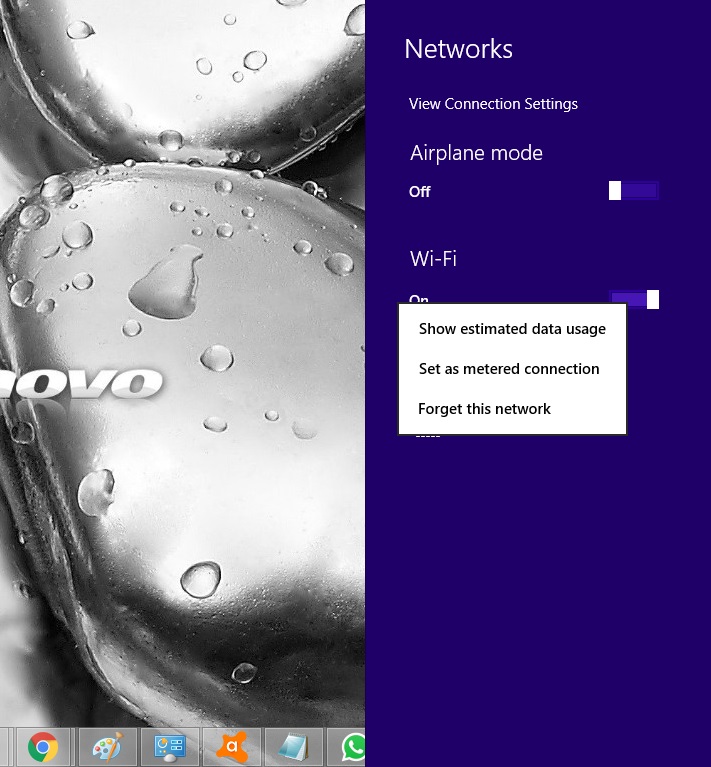
Figure: Forgetting a wireless network
Browsing the internet
You can browse the internet using an internet browser. The following are the popular internet browsers
In week 3, we installed Google Chrome so you can either use Google Chrome, Internet Explorer or Microsoft Edge to browse the internet.
To access a website, you need to enter the website address in the address bar and press enter.

The home page is the first page you will see when you visit the website. To navigate to other pages, you have to click on the image or text (Links) to direct you to a page.
When your cursor hovers on a link, the cursor icon changes to hand to let you know that this is a link and you can click on it to navigate to the page.

Figure: Cursor changes to hand when link is hovered
To go back to a previous page, you can click on the back arrow icon at the top left of the browser.
To go forward, you can click on the forward icon at the top left of the browser.
To refresh a page, you can click on the refresh icon at the top left of the browser.
To close a tab, click on the cross sign (x) at the top left side of the browser.
o open a new tab, click on the plus icon (+) at the top side of the browser.

Figure: back arrow, forward arrow, refresh , close tab (x) and new tab (+) icons
To open a new window, right-click on the browser icon at the taskbar and select New Window or Open New Window.
To close all browser windows, right-click on the browser icon at the taskbar and select Close all windows
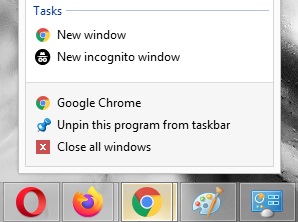
Figure: New window / Close all windows
To get additional features of the browser, click on the more icon. Select the appropriate task you wish to perform (printing a page, view browsing history, view downloads, deleting cookies etc.)
![]()
Figure: The more icon for Google Chrome browser
![]()
Figure: The more icon for Mozilla Firefox browser
![]()
Figure: The more icon for Opera browser
To minimize the browser, click on the minimize icon and to maximize, click on the maximize icon.
![]()
Figure: Minimize browser icon
![]()
Figure: Maximize browser icon
Printing a web page
To print a page, you can press ctrl + p or click on the more icon and select Print
Printing portion of a web page
The printer dialog pops up. If you are not connected to a printer, you can save the printing as a PDF by changing the print option to Save As and save to the computer.
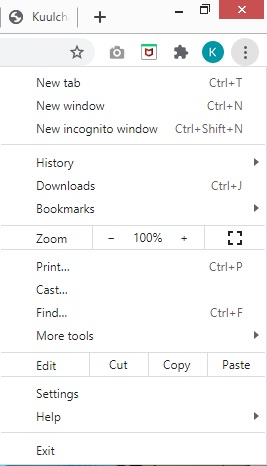
Figure: Print & others when a more icon is clicked on Google Chrome
Downloading
Most downloaded files can be found in the downloads folder of the This PC. You can as well change where download files should be saved to when you click on the more icon of the browser then settings → advanced. You can then change the default location to your desired location.
Creating Email
An email address is a designation for an electronic mailbox that sends and receives messages, known as email, on a computer network. Since the 1980s, all email addresses follow the same format: @.
An example is below:
There are a number of free email service providers. These are the popular:
Businesses and websites can purchase custom email addresses for their domain through one of these email providers or through their website hosting provider.
Creation of email address in all these email service providers are similar. This week we will look at how to create an email address with gmail which is the most popular email providers.
Creating Gmail Account
Form Fields and Explanations
First Name
This is your given name
Last Name
This is your surname
Username
A unique name that identifies you on gmail. It should comprise letters (a-z), numbers (0-9), and periods (.).
If someone has already used the username that you enter, you will be informed and you can try a different username.
If your username is joseph.adjetey then your gmail account will be joseph.adjetey@gmail.com
Password
A text that you will use to authenticate yourself. It must be 8 or more characters with a mix of letters, numbers & symbols.
Security caution
Don't use only your phone number or a text that is common to people. If someone wants to login into your email, the first text they will try will be the publicly known information such as your name, telephone number, your pet name, best friend etc. Use a text that you won't forget at the same time will be difficult for people to guess.
Confirm
You must enter the same text you entered for password. This is to make sure that the password you entered is correct and there is no typo error.
Once everything is ok, click on Next.
Your account will be created and you will be asked to enter additional information
Your phone number (Optional)
This will be used to send you a verification code in case you forget your password and want to reset it.
Recovery email (Optional)
An email address that you already have. It could be another email from gmail or any other email service provider.
This will be used to send you a verification code in case you forget your password and want to reset it.
Your date of birth (Compulsory)
Month - Day - Year
Your Gender (Compulsory)
Indicate whether you are male or female or if you don't want to say
Click Next
Agree to gmail terms
Once you agree, your email account page will be shown where you can send your first email.
Sending Email
Form fields and explanations
To
This is the email address you wish to send the email to
To enter multiple email addresses, separate the emails by a comma (,) or a semi-colon (;).
Examples
abena95@gmailcom, adjeteysowah@yahoo.com, kofi@mail.com
Cc
Abbreviation for carbon copy. If you want to copy the email to someone, you can enter the email address to send the copy to.
The one copied to will notice that the email addressed to him/her has also been sent to a list of other people who have been CCed.
To copy to multiple email addresses, separate the emails by a comma (,) or a semi-colon (;).
Example
abena95@gmailcom, adjeteysowah@yahoo.com, kofi@mail.com
Bcc
Abbreviation for blind carbon copy. Just like CC, BCC is a way of sending copies of an email to other people except the other recipients won't be able to see that someone else has been sent a copy of the email.
So Bcc emails will not be shown in other recipients CCed to.
To copy to multiple email addresses, separate the emails by a comma (,) or a semi-colon (;).
Examples
abena95@gmailcom, adjeteysowah@yahoo.com, kofi@mail.com
Subject
This is the heading of your message so the recipient knows what the email is about before opening it.
The Message Box
You enter your message in this box.
Attaching a file to message
To attach a file to your message, click on the attachment icon. A dialog box pops up.
Navigate to the file you wish to attach. You can select multiple files in the same folder if you wish to attachment multiple files.
If you want to attach a complete folder, you must zip that folder and send as an attachment.
Zipping a folder
A zipped version of the folder by the name of the folder is saved in the same folder the folder is located.
Unzipping a zipped file
NOTE
By default the same folder the zipped file is located will be selected as the folder you wish to save your extracted folder.
If that's where you wish to save to, just click on Extract. Otherwise browse to the location where you wish to extract your zipped file to.
All sent emails can be seen under Sent. You simply click on the Sent menu to view sent emails.
Reading an email
Emails you've received are placed under Inbox. If you have unread message(s), the Inbox menu will be read and the number of unread messages will be at the right.
Messages that you were composed but were not sent are placed under Drafts. To see draft messages, click on the Drafts menu
Emails from suspicious senders are placed under Spam. To view spam messages click on More and scroll to Spam.
Messages that you delete will be placed under Trash. After 30 days they will be permanently deleted. To view trash messages click on More and scroll to Trash
Logging out
To logout, click on your profile picture. By default, your profile picture will be a circular button at the top right with the first letter of your first name in it. Scroll and select Sign out.
Resetting password
If you don't remember click on Try another way
Try Another Way
If you used your phone during the registration, google will send a notification to your phone. Tap Yes and tap the number it shows on the page.
You will be redirected to a page to create a new password.
NOTE:
Your phone must be connected to the internet to receive the notification on your phone.
Fields and explanation
Create password
8 or more characters text
Confirm
Repeat the same password typed above
Once everything is ok, press Next to reset the password
If you entered a recovery email instead of a phone when registering
You will be shown a masked email address of the recovery email.
Enter the full email
A verification code will be sent to that email.
Login to your recovery email to check the verification code and enter the code
Once the code is correct, you will be directed to a page to create a new password.
Searching on the internet
There are many search engines that can be used to search on the internet but some of the popular ones are:
In this week, we will use google search engine to demonstrate how to search on the internet.
NOTE
To open the result in a new tab so that the result page still remains, follow these steps:
COPYING A TEXT
TIP WHEN TRANSFERING SEARCHED TEXT TO WORD DOCUMENT
When you copy from a page, the text style (color, font type etc.) is also copied.
To avoid transferring these styles to the word document, first paste the copied text to a notepad and copy from notepad to the word document.
To print a page of a search result refer to print page or portion of a page in the content above.
SAVING IMAGE FROM A PAGE
NOTE
You can as well copy and image and paste into a word document.
To copy and image follow the steps below:


Digital Address: GZ-033-0057
King Kotey Road
Teshie - Accra
Ghana
+233 54 753 9118
info@kuulchat.com
![]()
© Copyright 2015 - 2026
All Rights Reserved