Page orientation
Orientation is the position of the document paper. There are two types of orientations:
- Portrait
- Landscape
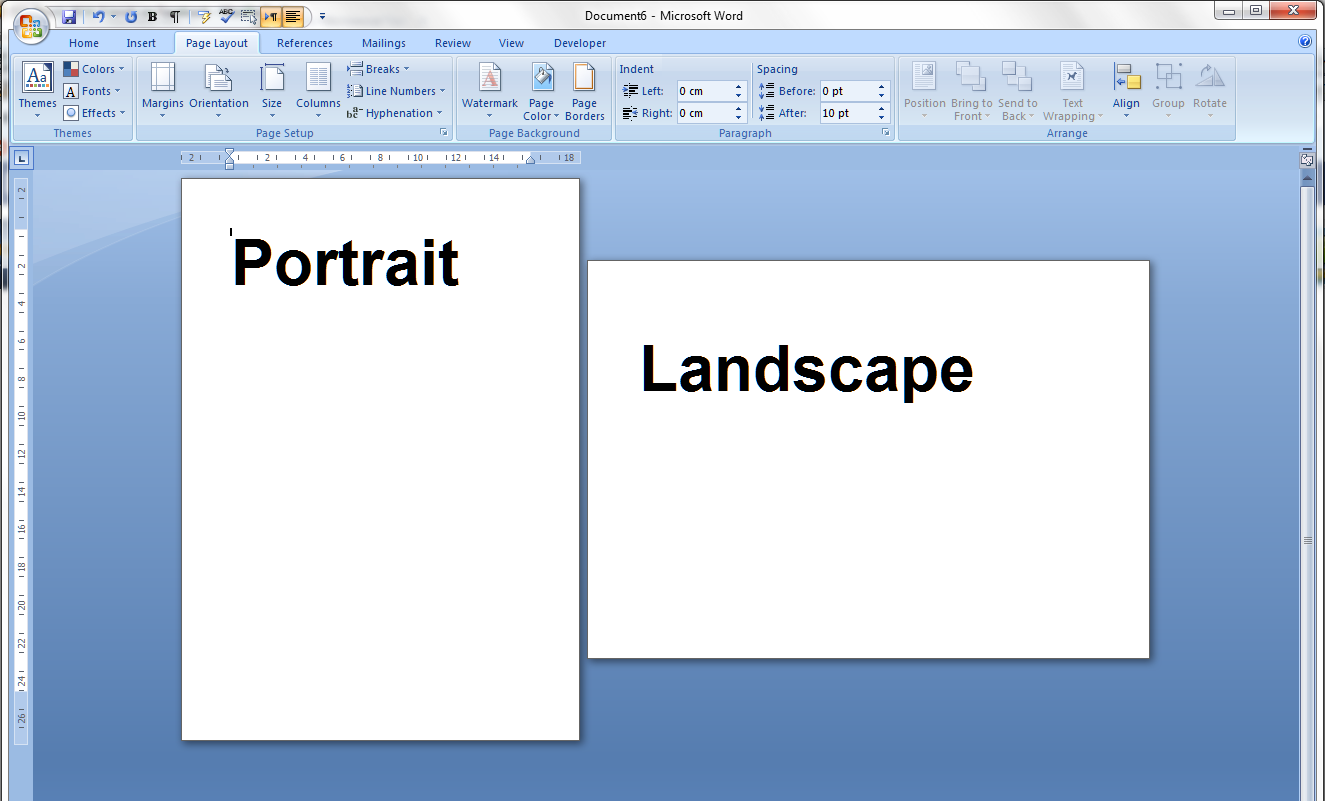
Figure: Page orientations
By default, page orientation is portrait. To change the orientation of a page, follow the steps below:
- Click on the layout tab at the top
- Click on Orientation
- Select the appropriate orientation
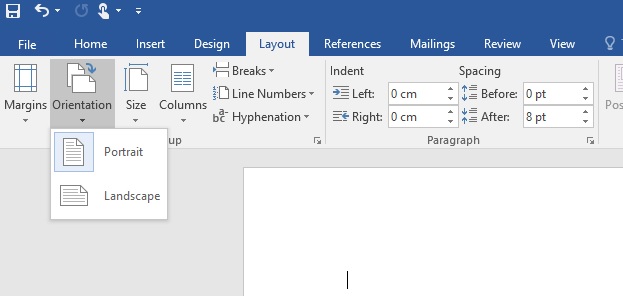
Figure: Orientation options
Use different orientations in the same document
There may be times when you want certain pages or sections of your document to have a different orientation from the rest of it.
To do so, follow the steps below:
- Place the cursor on the page you wish to change the orientation
- Click PAGE LAYOUT → Page Setup dialog box launcher.
- In the Page Setup box, under Orientation, click Portrait or Landscape.
- Click the Apply to box, and click This point forward.
- If the subsequent pages will be of different orientation, you can click on that page too and repeat steps 1 - 4
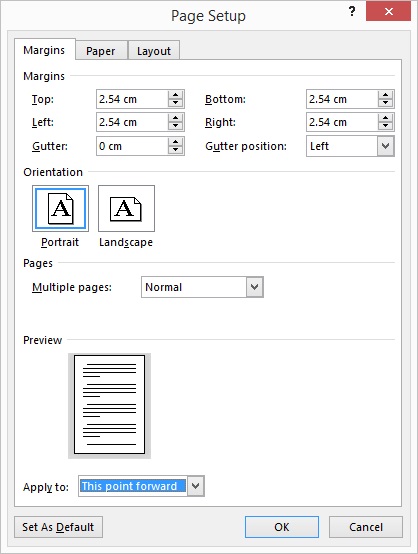
Figure: Setting a different orientation for pages from current page forward
Adjust page margins
Margin are the space between the document text and the edge of the paper.
Top margin is at the top, right margin at the right, bottom margin at the bottom and left margin at the left.
You may have to adjust the page margins in order to reduce the number of pages you have especially if you want only one page and few text have moved to the second page, you can adjust the margin so that text on the second page move to the first page.
You may as well change the default margins if you are designing a poster that you wish the text to be big enough and you may need more work space, hence you may have to reduce the space at the margins.
To change the default margins, follow the steps below:
- Click on the layout tab at the top
- Click on Margins
- Select the appropriate margin or click on custom margins to set your own margin
- Adjust the figures by clicking on the top and bottom arrows next to the positions or enter your own figure.
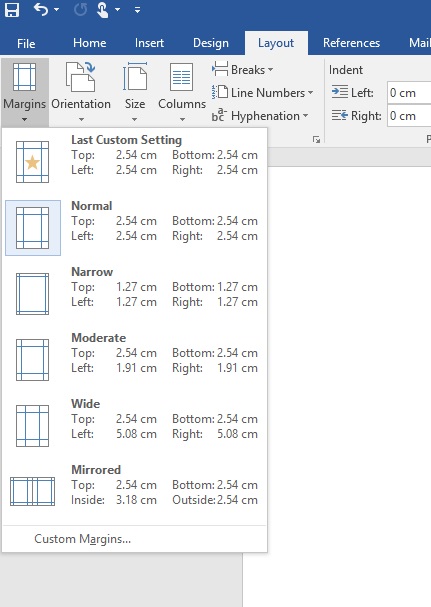
Figure: Margins
If you are going to bind the document and want to add an extra amount of space on one edge for the binding, enter that amount in the Gutter text box, and select the side the gutter is on with the Gutter Position drop-down list. After setting all the desired values for all the margins, click the OK button to apply the margins.
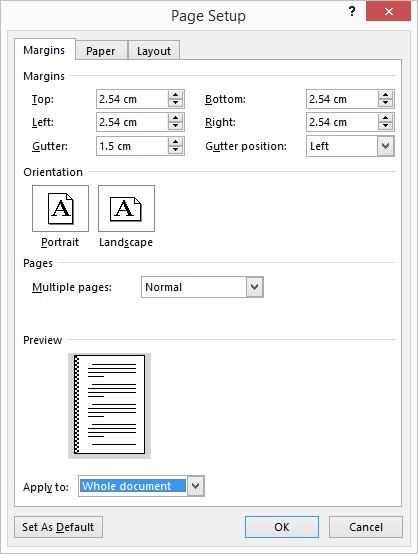
Figure: Gutter margin
Dividing the page into columns
By default, the document has only one column. If you want to divide the document into a number of columns, follow the steps below:
- Click on the Layout tab
- Click on Columns
- Select the appropriate columns you wish to divide your page into
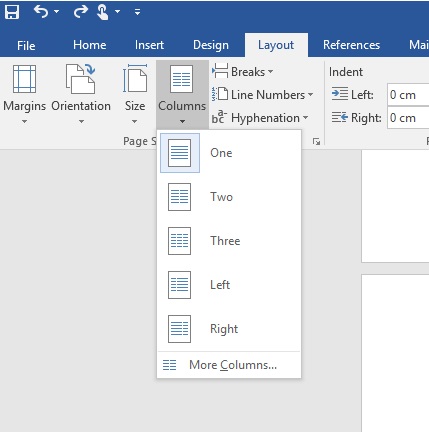
Figure: Page column options
If you want the column to be applied to a particular page. Place the cursor at the place you want the column to be applied.
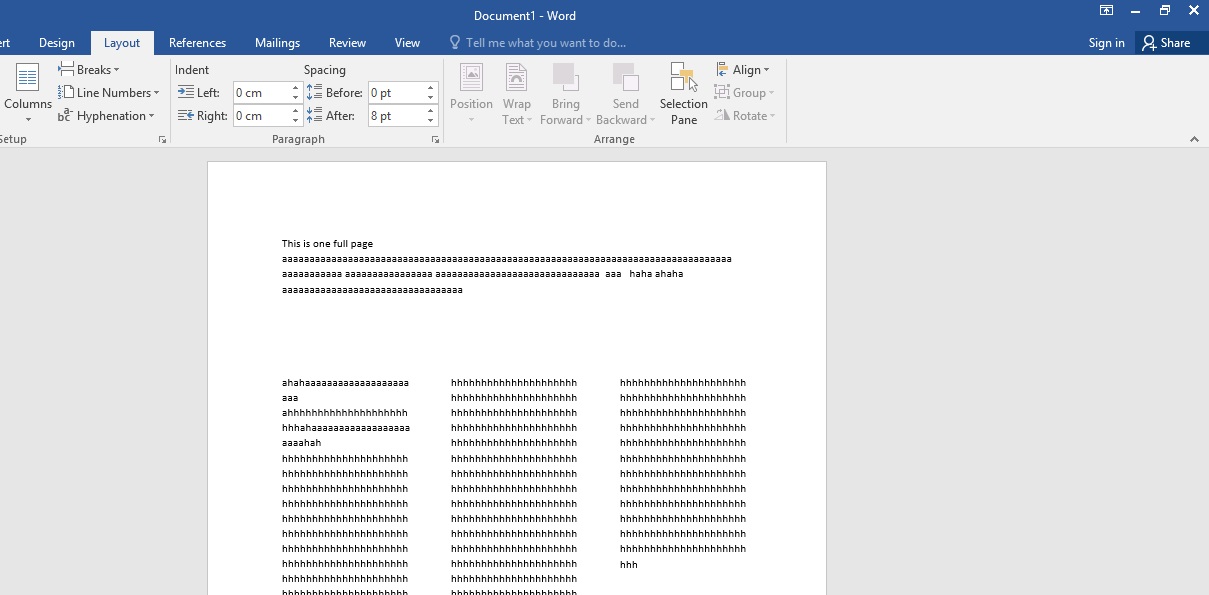
Figure: Multiple columns on one page
- Follow above step 1 and 2 and select More Columns.
- After selecting the appropriate column select apply to: this point forward.
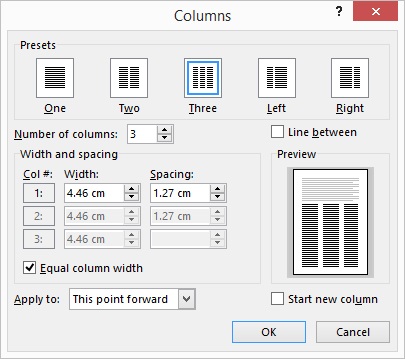
Figure: More column dialog box
If you want to change the width of the columns, untick (deselect) the Equal column width and select or enter your desired column widths.
Header & Footer
Header & footer contain special information such as page number, document title, company logo, contacts & address or particular information. If there are more than one page, the information in the header and footer appear on all the pages. The header appear at the top and the footer bottom.
To insert header or footer follow the steps below:
- Click on the insert tab
- Click on header or footer and choose your appropriate style
- Enter the information for the header or footer
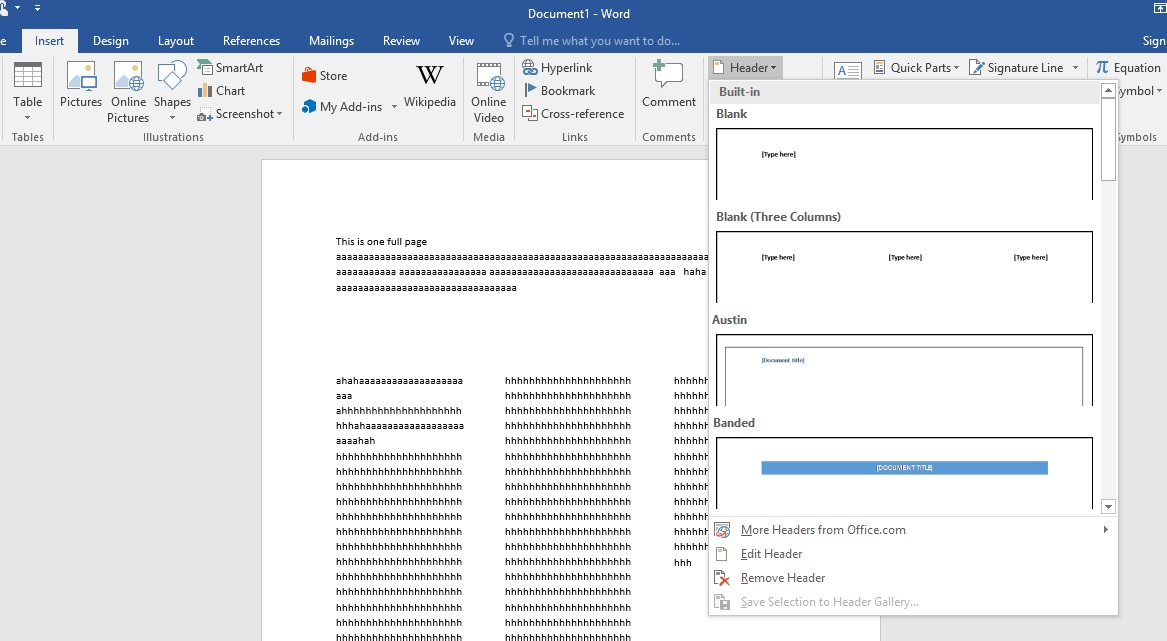
Figure: Header options
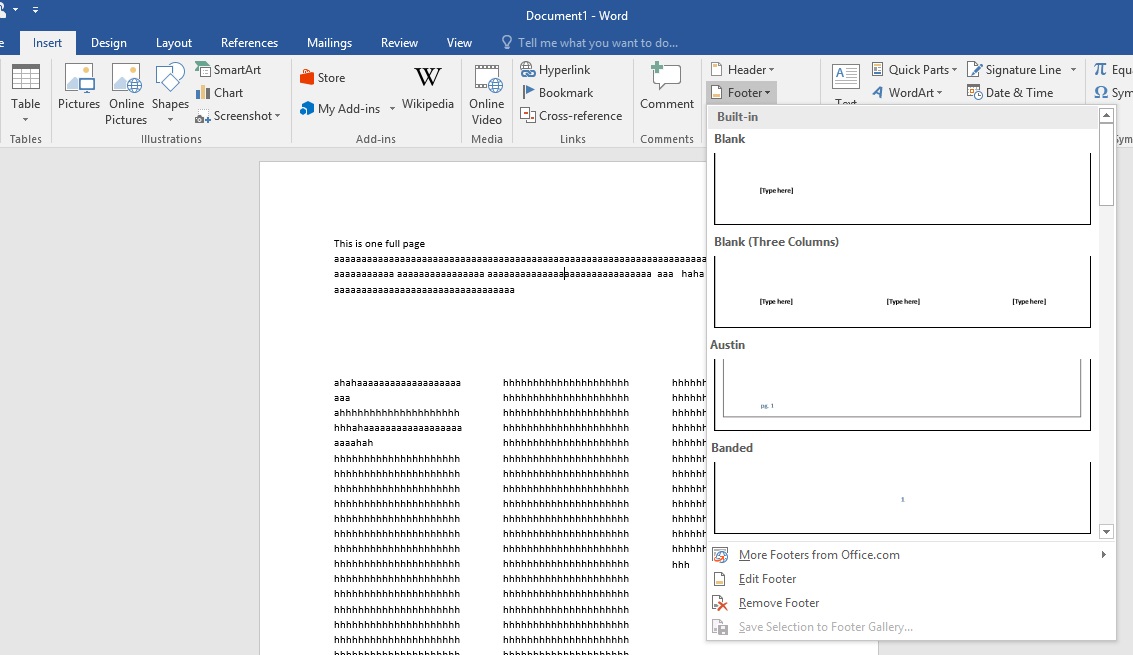
Figure: Footer
Add Page Numbers
- Click on the insert tab
- Click on the Page Number below the Header and Footer
- Select the appropriate page number format.
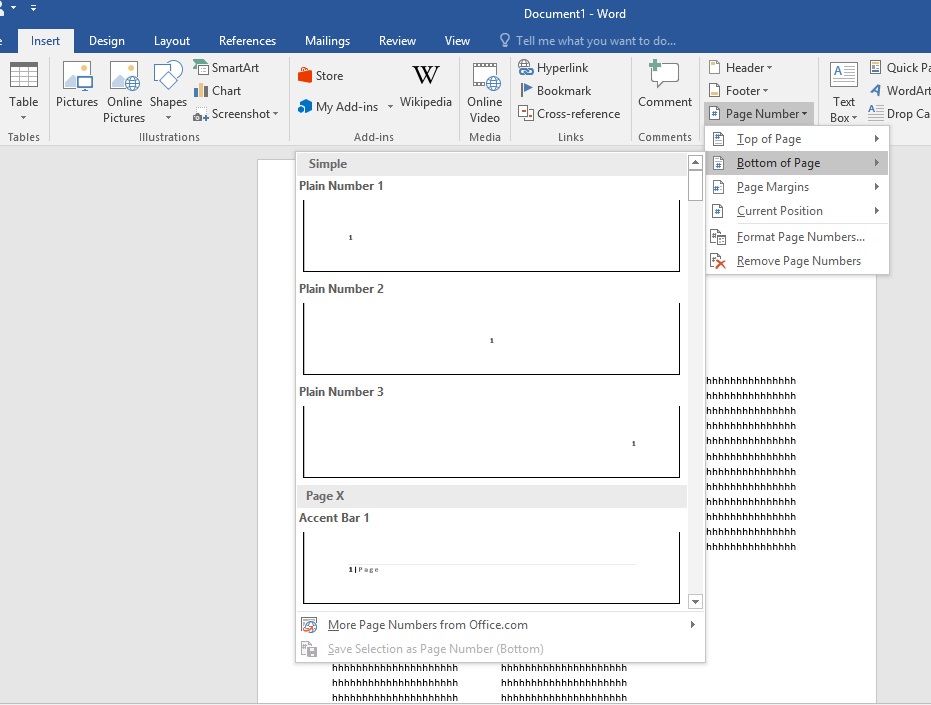
Figure: Page number options
Removing page number from the first page
- Go to Insert → Header or Footer → Edit Header or Edit Footer
- Select Different First Page
- In the header or footer area of the first page, you should see a label that says First Page Header or First Page Footer. Select the page number and press Delete.
- If you want the subsequent pages to start from 1, click on Page Number → Format Page Numbers. Enter 0 as the start at value
- Click on the Close Header and Footer to exit or press the esc key
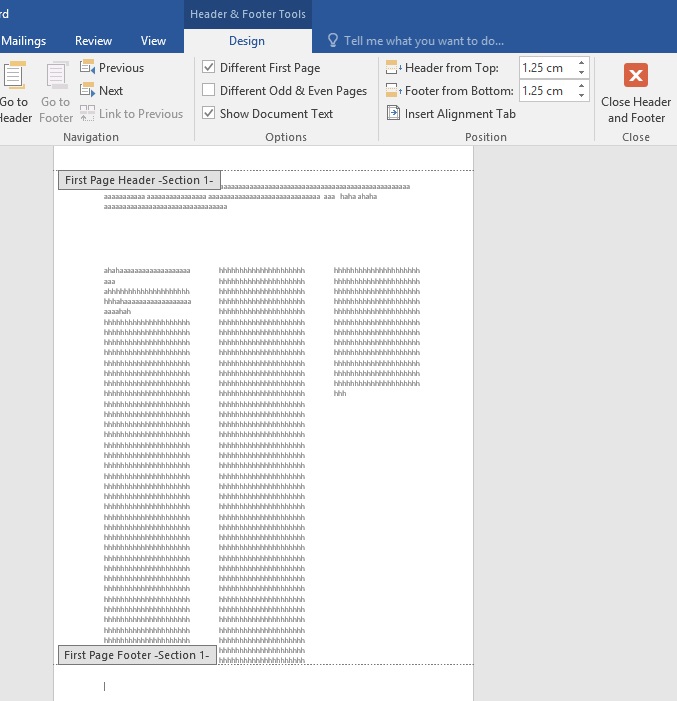
Figure: Different first page header and footer
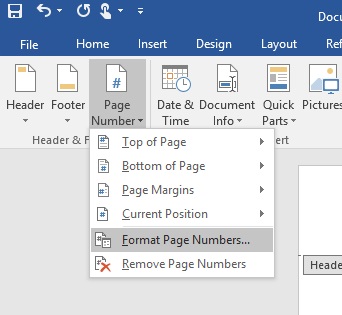
Figure: Format Page Numbers
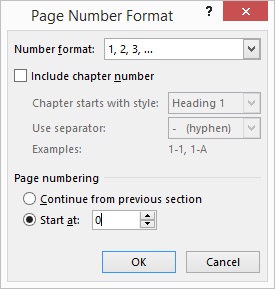
Figure: Format Page numbers start at 0
Insert page break
Page breaks makes it possible for you to force a text to be moved to the next page other than you pressing enter until it moves to the next page.
To insert a page break, follow any of these steps below:
Method 1
- Place the cursor before the first letter of the the text to move to the new page
- Click on the insert tab
- Click on Page Break
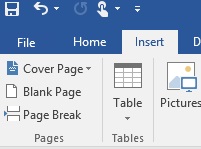
Figure: Cover Page, Blank Page & Page Break options from the Insert tab
Method 2
- Place the cursor before the first letter of the the text to move to the new page
- Press Ctrl + Enter
The text is then moved to the next page
Insert blank page
To insert a blank page follow the steps below:
- Place your cursor at where you want the blank page to be inserted
- Click on the insert tab
- Click on Blank Page
A blank page will be inserted.
Insert Cover Page
Microsoft provides a number of cover pages you can use. To insert a cover page, follow the steps below:
- Click on the insert tab
- Click on Cover Page
- Select from the list of cover pages shown to insert on the first page
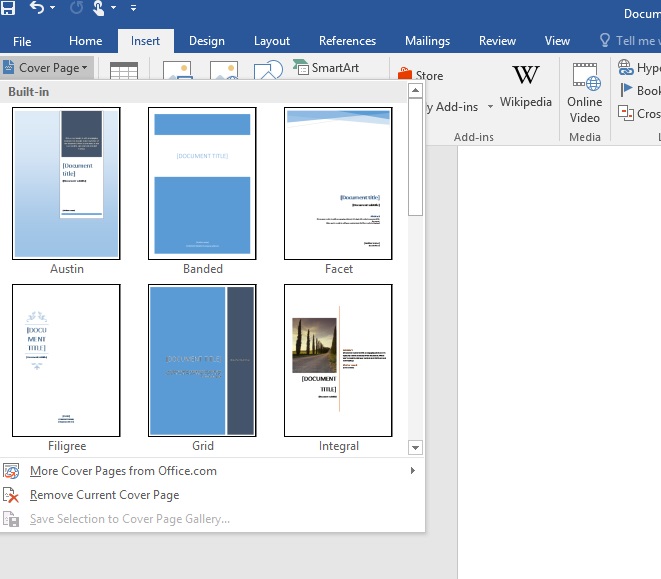
Figure: Cover page options
Removing a cover page
- Click on the insert tab
- Click on Cover Page
- Select Remove Current Cover Page
Inserting Hyperlink
A hyperlink, or simply a link, is a reference to data that the user can follow by clicking or tapping.
Word automatically adds a hyperlink when you type a web address and you press the enter key. If you want to add hyperlink to a text you've already typed which is not a web address follow the steps below:
- Highlight (select) the text
- Click on the insert tab
- Click on Hyperlink
- Enter the web address in the address box and press enter
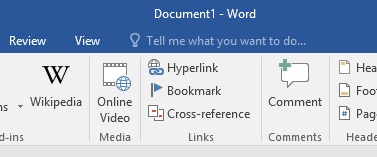
Figure: Hyperlink in the Insert Tab
To insert a link in a document, follow the steps below
- Place your cursor at the insertion point
- Click on the insert tab
- Click on Hyperlink
- Enter the text which will be displayed to click in the text to display box
- Enter the web address in the address box and press enter
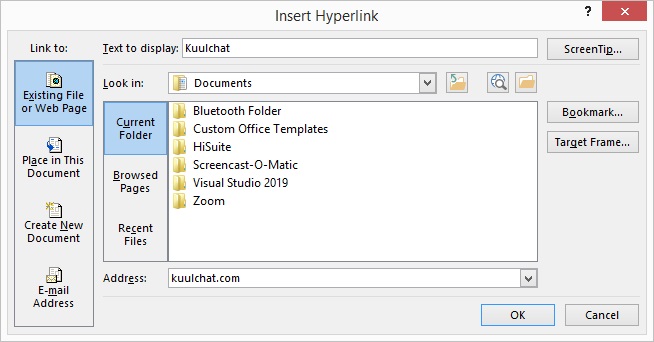
Figure: Adding hyperlink to Kuulchat text
Note
Your web address must be http:// or https:// format otherwise when your link is clicked you will get an error message.
If the address kuulchat.com is used, when the link is clicked, there will be an invalid address notification shown below.
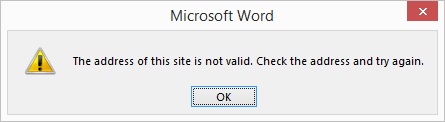
Figure: Invalid address notification dialog message
So the correct format should had been http://kuulchat.com or https://kuulchat.com
Edit/Open/Copy/Remove a link
- Right-click on the link
- Select the appropriate Hyperlink option from the options
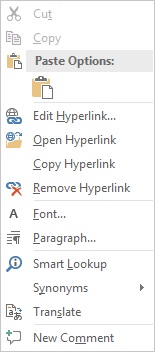
Figure: Options when hyperlink is right-clicked
Insert, delete, or change a comment
Insert a comment
- Select the text you want to comment on, or click at the end of the text.
- On the Review tab, click New Comment.
- Type your comment. Word shows your comment in a balloon in the document's margin.

Figure: Insert comment
Reply to a comment
- In the comment, click the Reply button
 .
. - Type your reply.
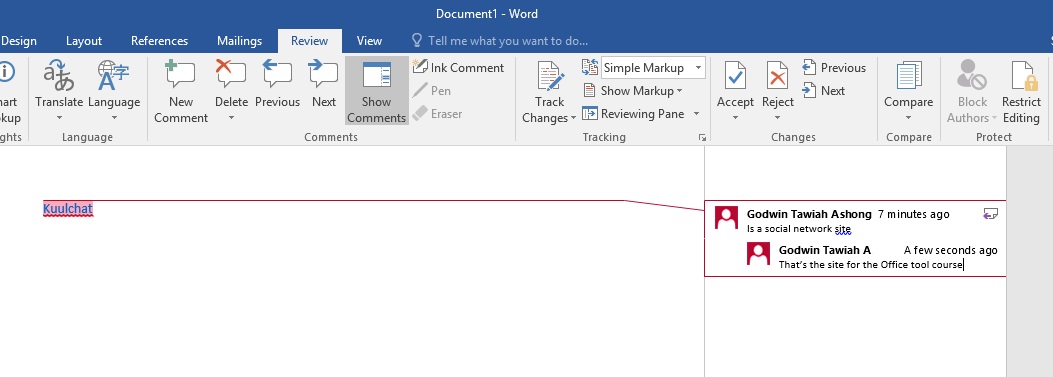
Figure: Replying to a comment
Delete a comment
- On the Review tab, in the Comments section, click Next to select a comment.
- On the Review tab, click Delete.
To delete all comments at once, click the arrow by Delete, and then click Delete All Comments in Document.
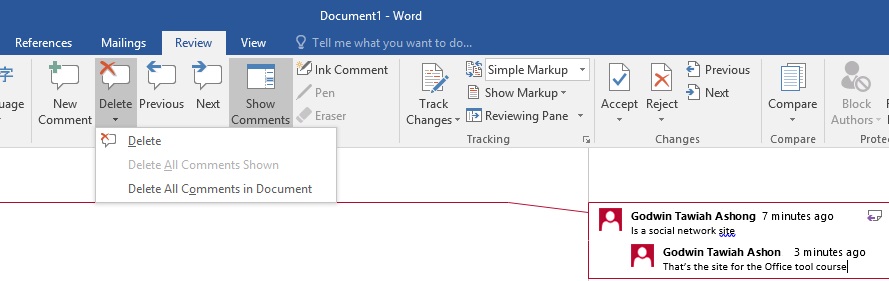
Figure: Delete all comments